
Observing network requests and responses is a nice way to dig deep into APIs and reverse engineer how apps are working in the background, e.g. if you want to examine the traffic that an app exchanges with servers in order to understand how things work or if you want to use an API outside of its original purpose (e.g. for prototyping or proofs of concept).
»Charles« is an app that allows to capture and inspect this directly on your iOS device which is a quite convenient solution compared to connecting Charles or mitmproxy to an iOS device.
How Charles works
The concept of Charles is based on a proprietary proxy server that is stored on the device. Using a local virtual network interface, all connections that the iPhone or iPad receives can then be recorded.
Due to the fact that Charles works directly on the device, a download of a proxy app or a complicated setup of the connection in the WiFi settings is no longer necessary. In addition to WiFi traffic, Charles allows to monitor and evaluate mobile data connections as well.
In general, HTTPS (via SSL/TLS) protects traffic by encrypting all data with a secret key that is only known to the original client and server.
In order to record such requests (which are the majority nowadays) as well, Charles follows concepts known from »man-in-the-middle attacks«: it’s generating its own root certificate which is subsequently used for dynamically generating certificates for requested servers, sitting between the client applications and the servers.
Let’s get started
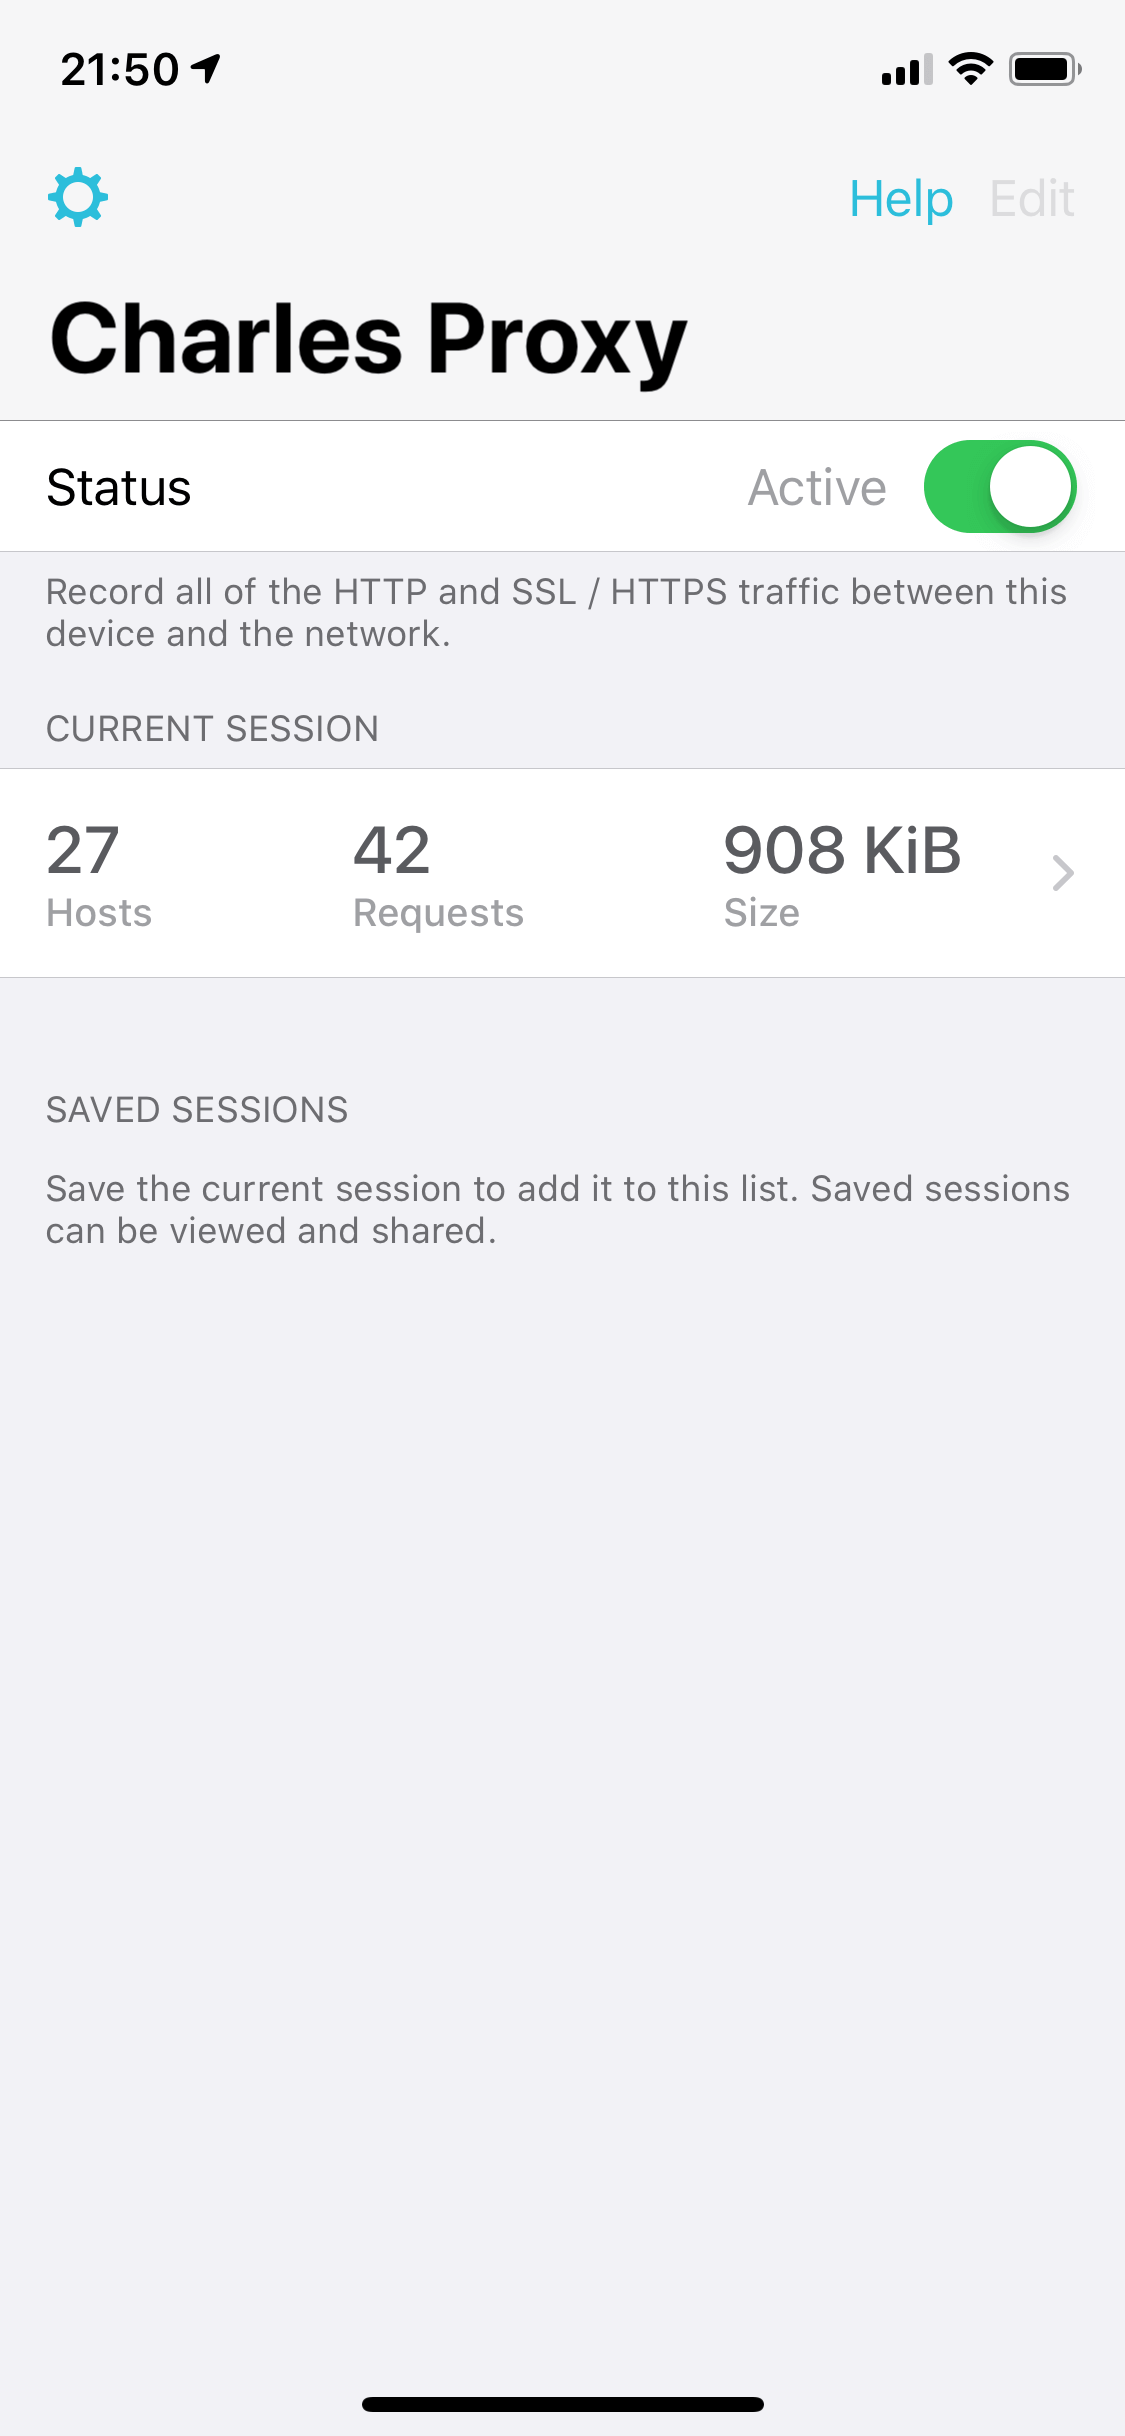
After starting the Charles app, the proxy needs to be activated via a slider. In the automatically executed settings, you only have to confirm the access of the proxy in order to be able to use it for the monitoring of the incoming and outgoing data traffic.
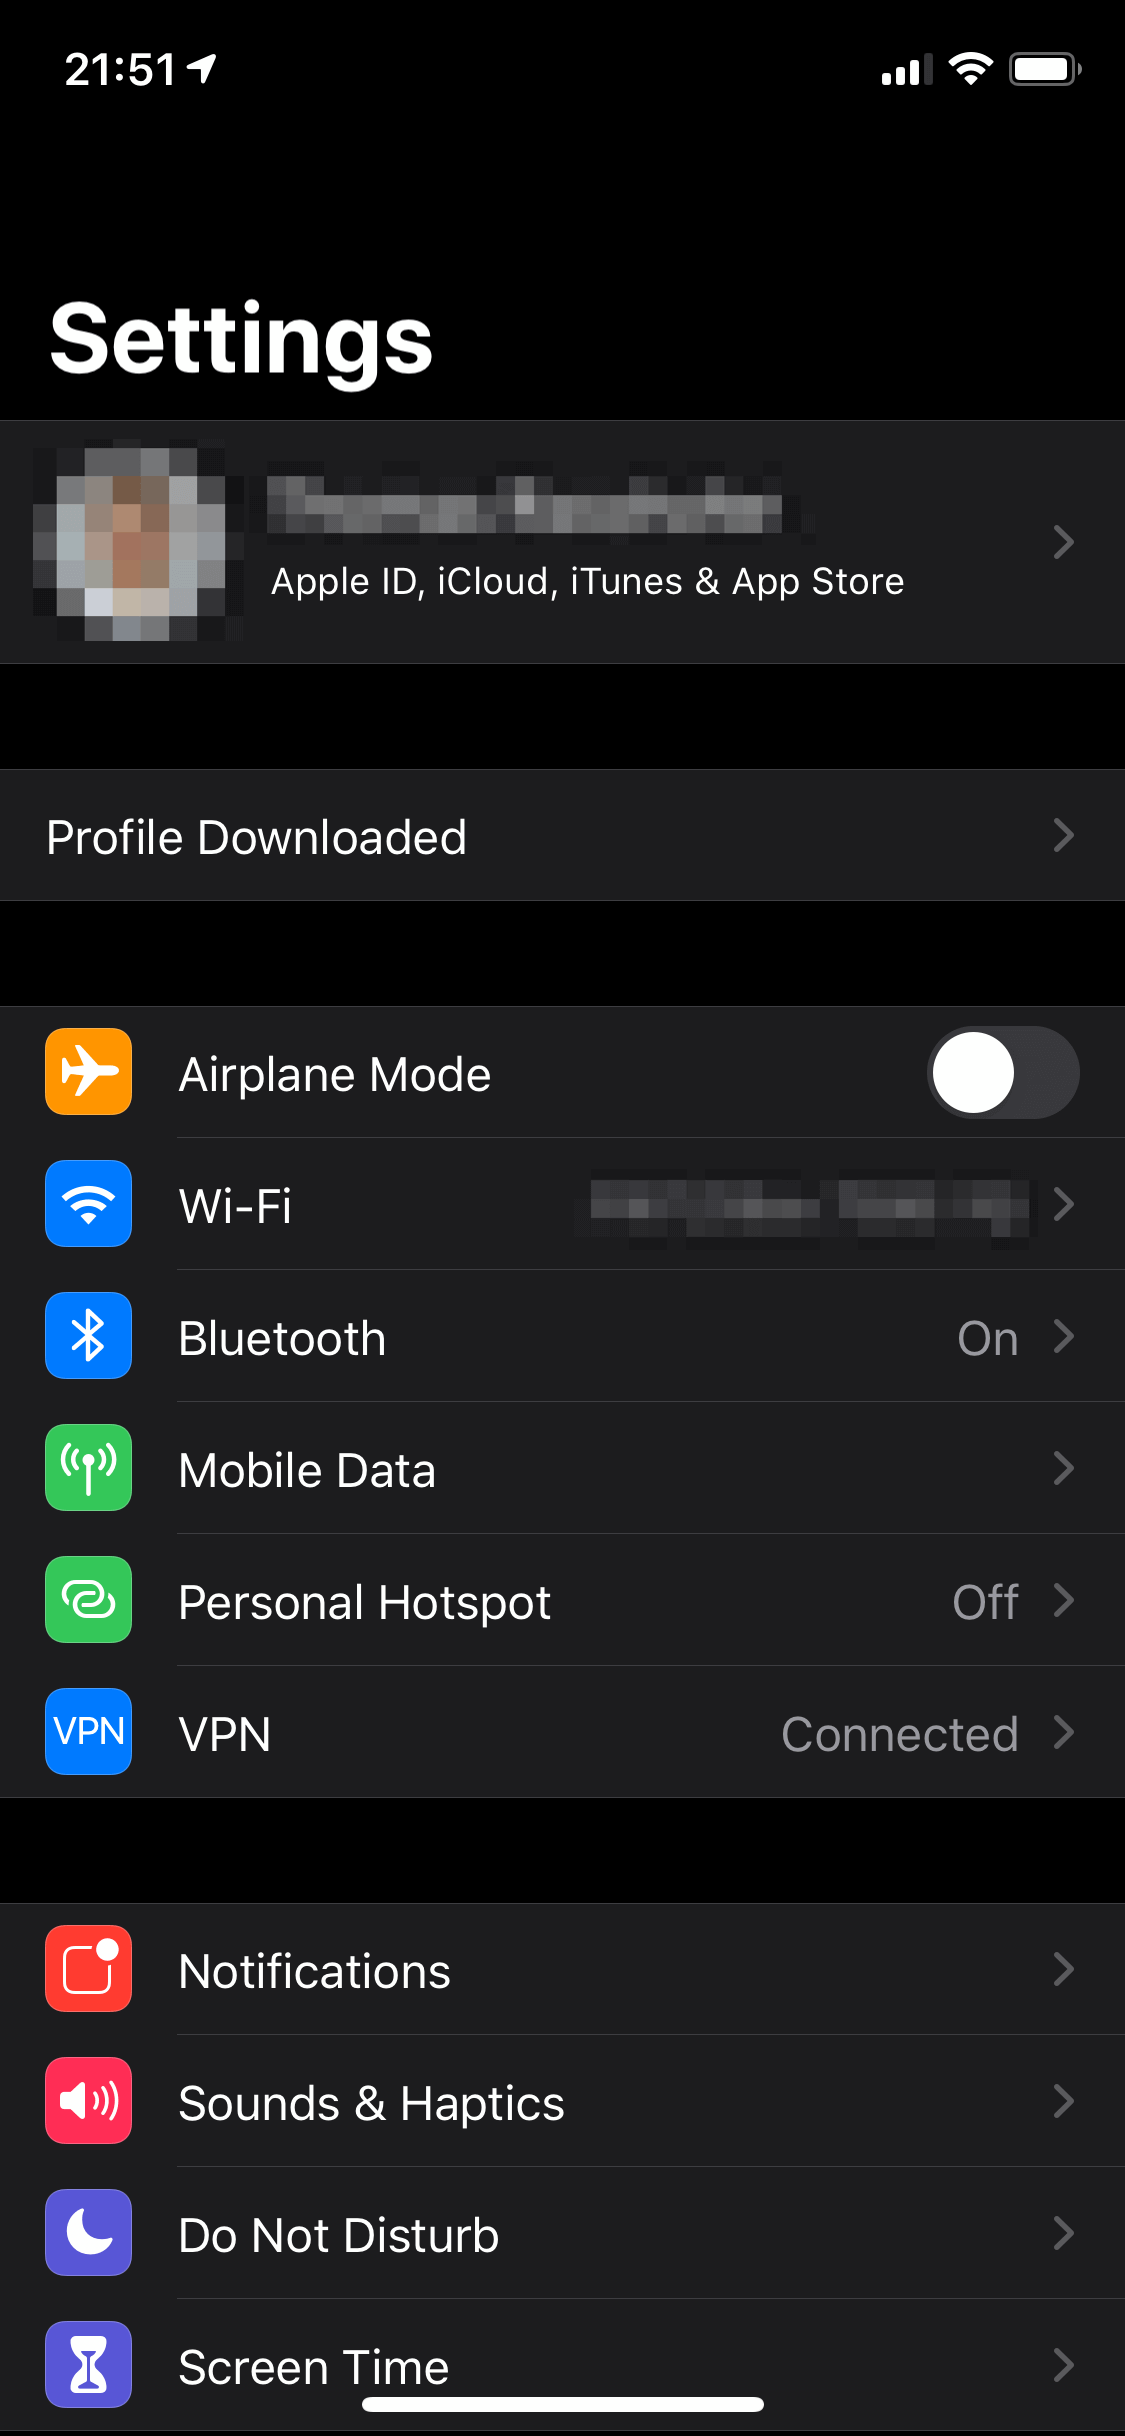
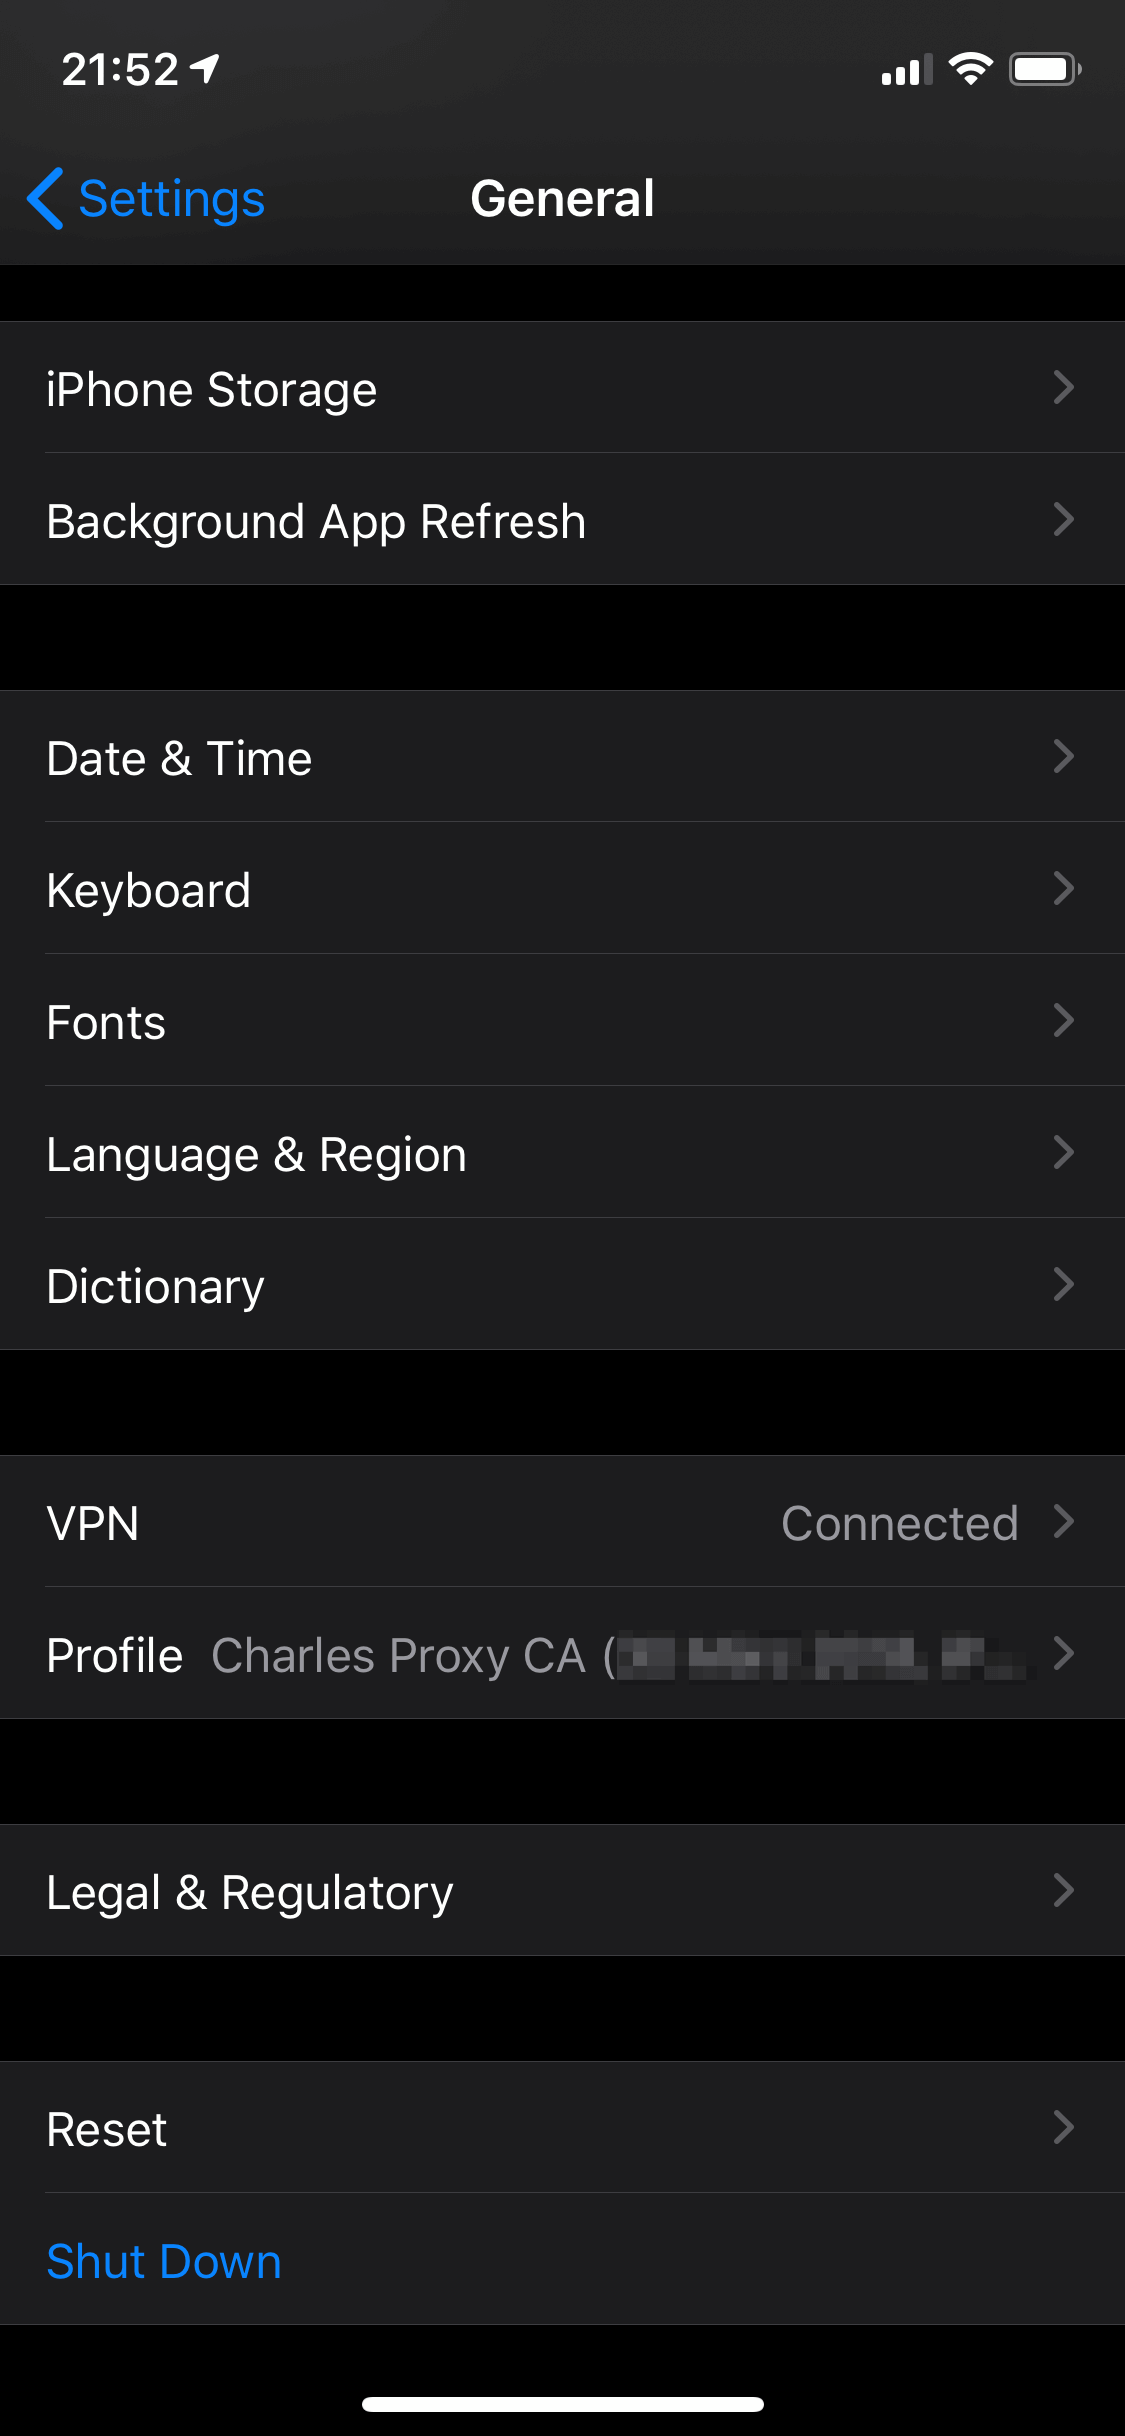
For this, Charles will behave as a virtual private network (»VPN«), i.e. all traffic is routed through it, which allows Charles to record the traffic. Afterwards, a new session is started, during which all incoming and outgoing connections are continuously tracked and thus are visible within the Charles app. As long as the slider in the app’s main menu remains activated, the iOS device’s status bar will also show the abbreviation »VPN«.

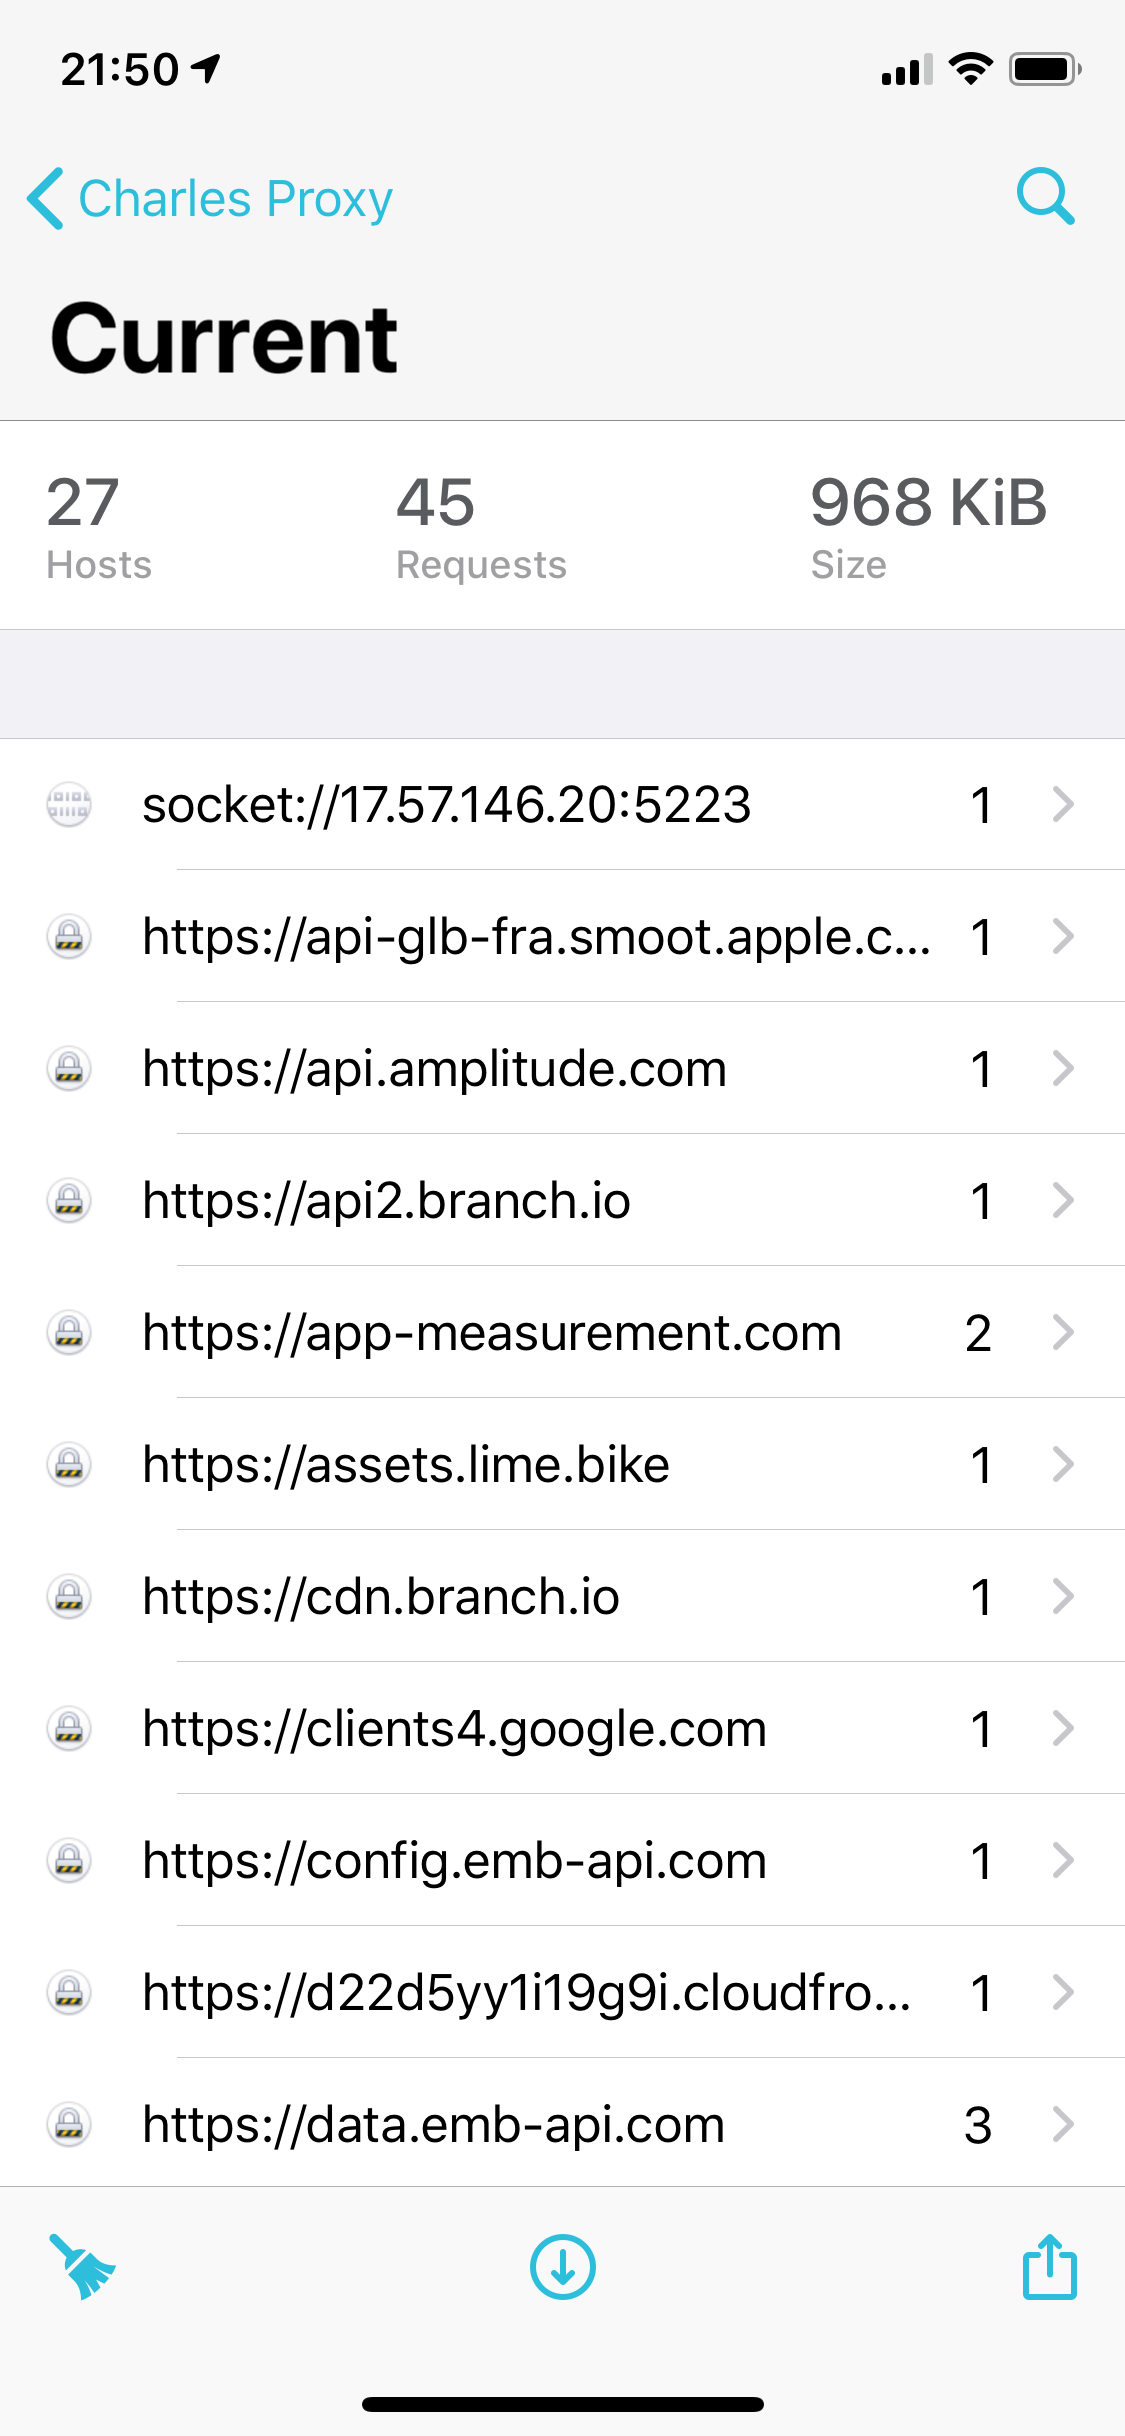
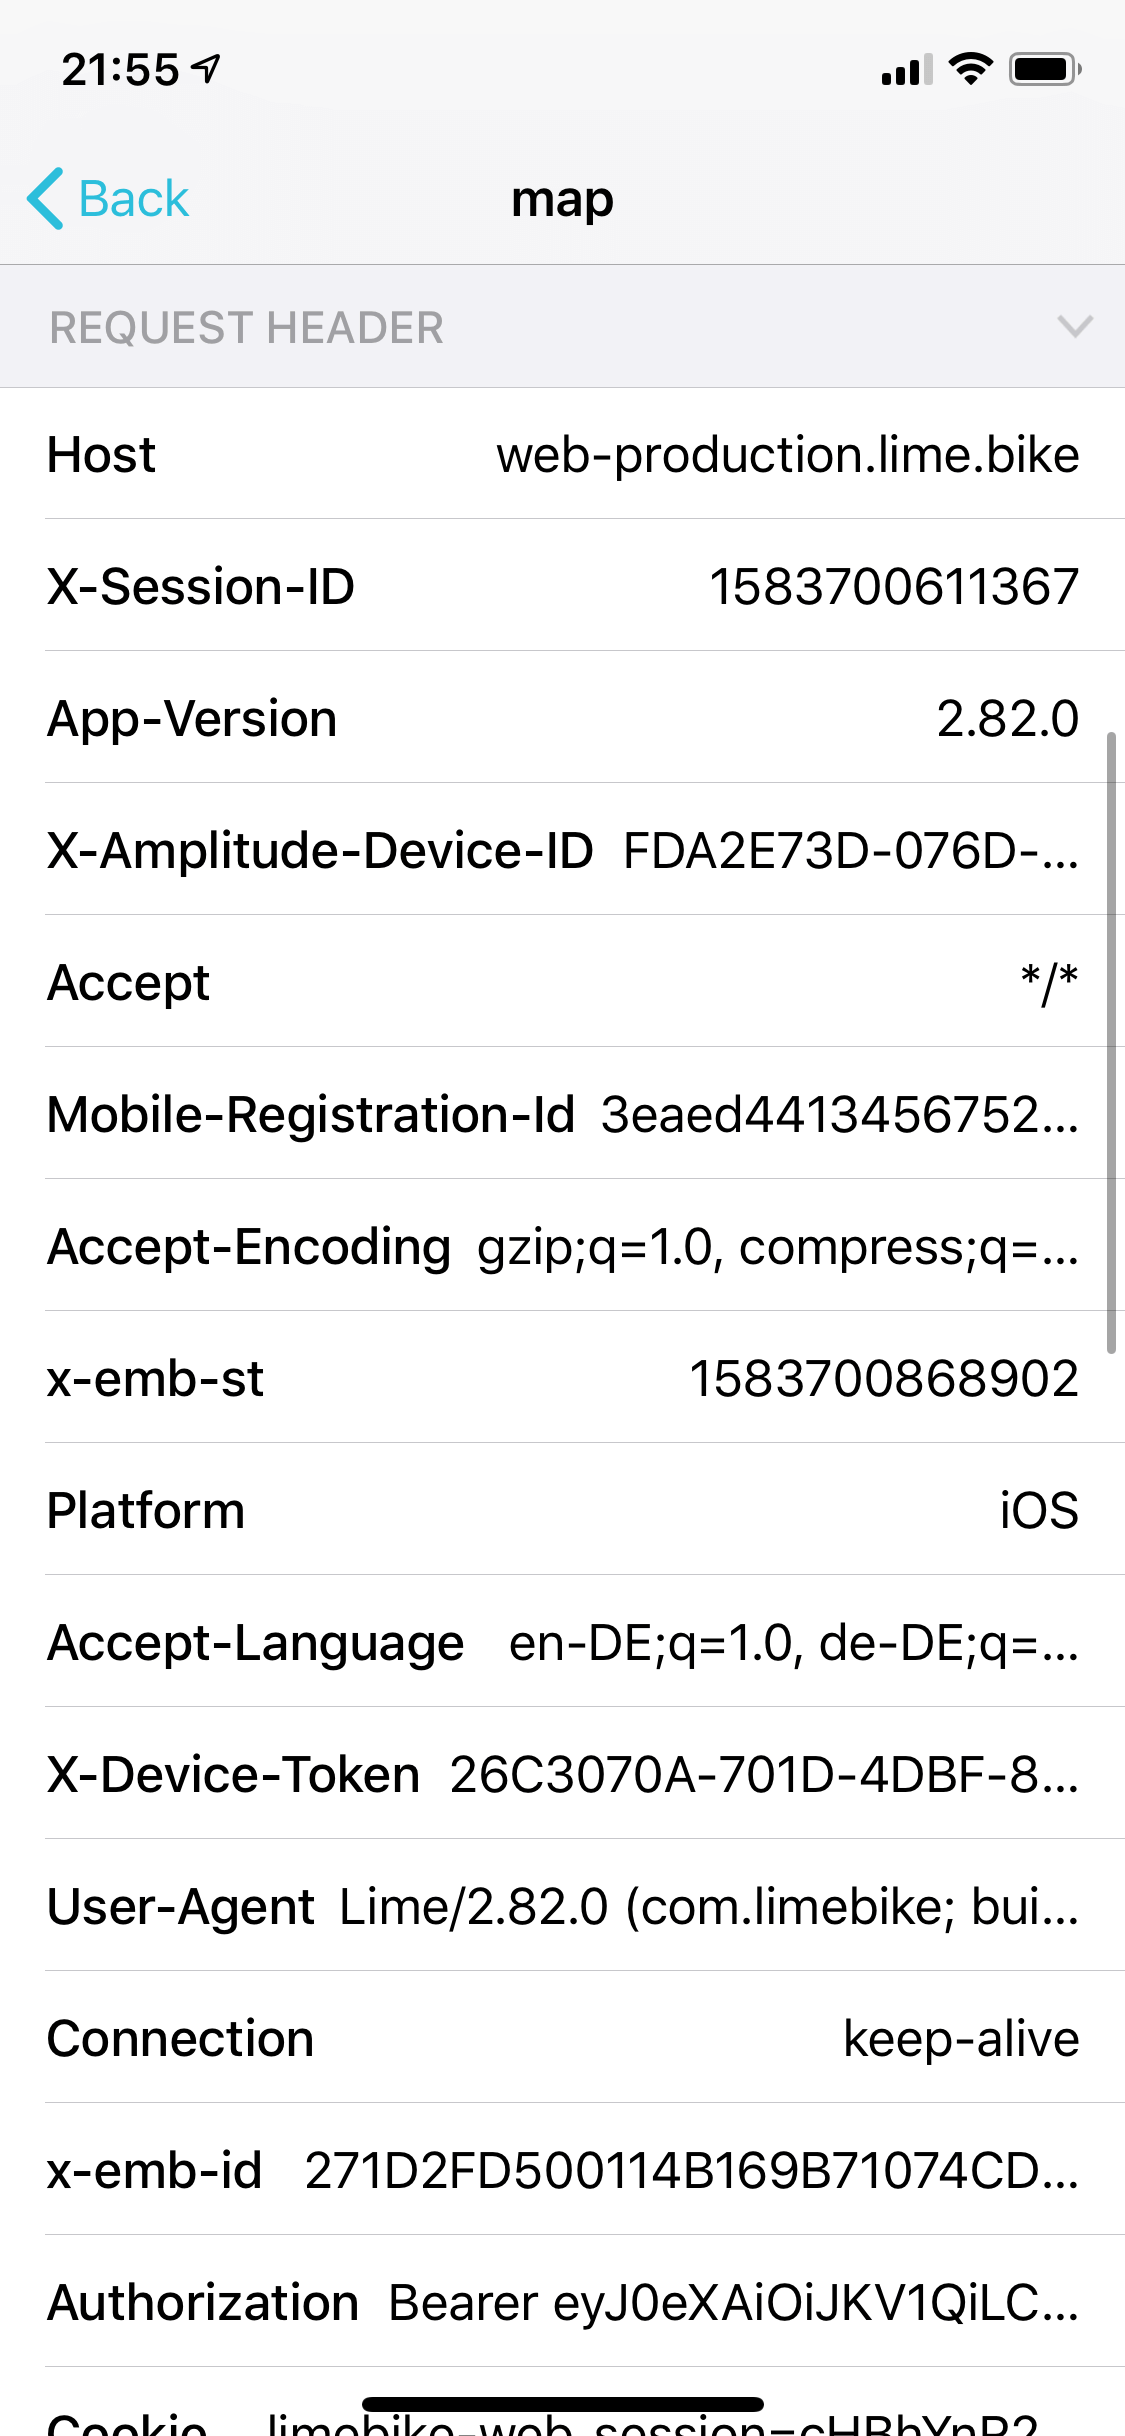
As mentioned before, most HTTP requests are encrypted via SSL/TLS nowadays. Because of this, you’ll only see the requested host names but no details about specific request URIs, request headers, response headers, or response bodies (as this information is encrypted).
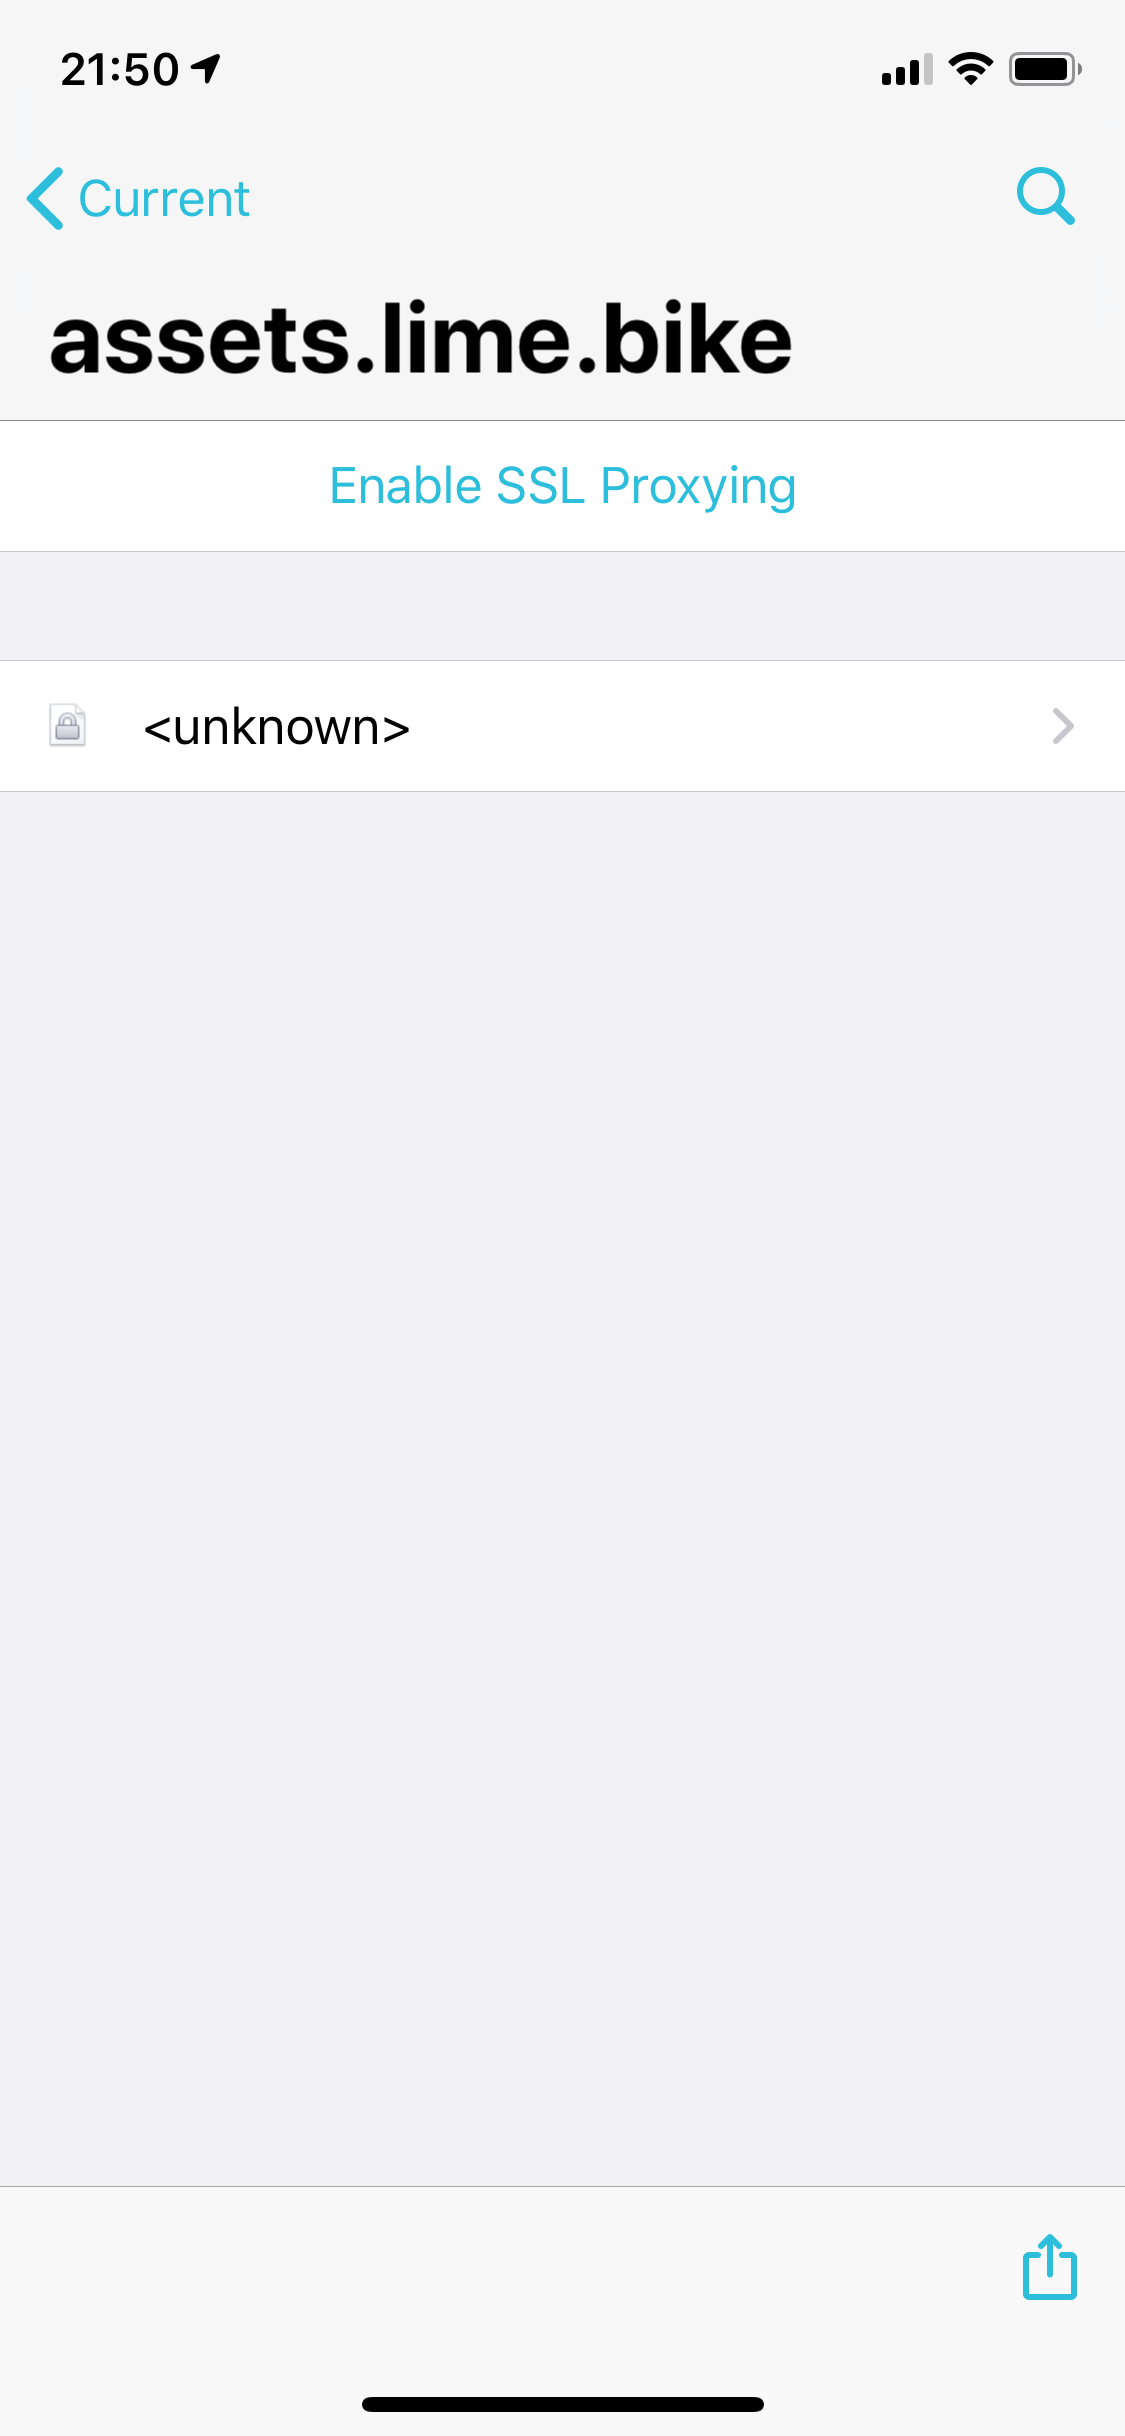
As a consequence, you need to install Charles’ root certificate in order to capture and inspect such requests as well. For this, activate »SSL Proxying« in the settings of the Charles app, i.e. by selecting »Enable SSL Proxying« within one of the affected requests.
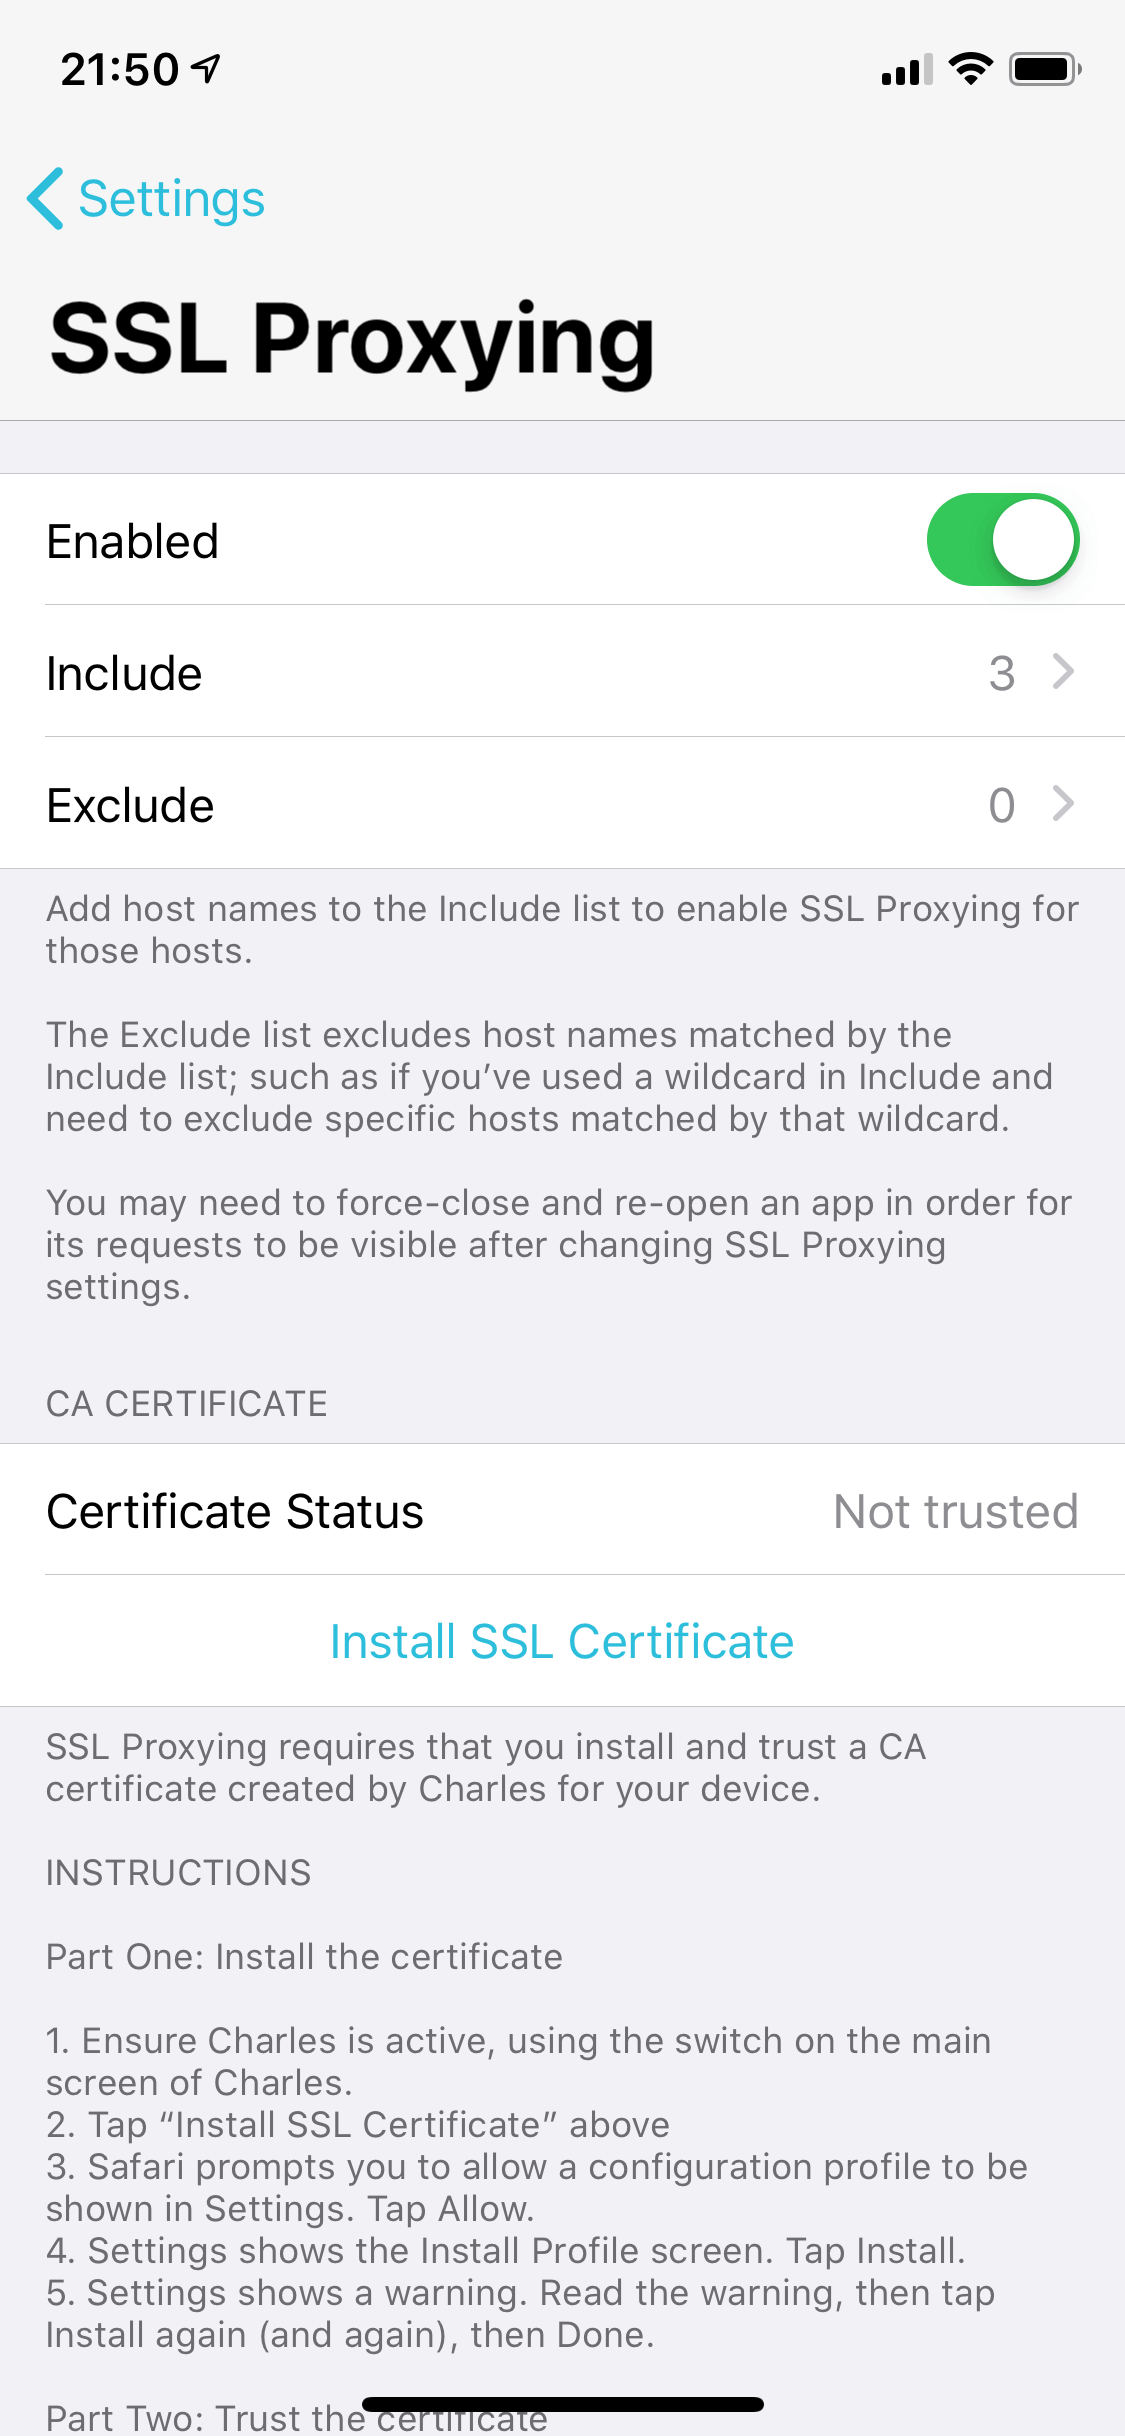
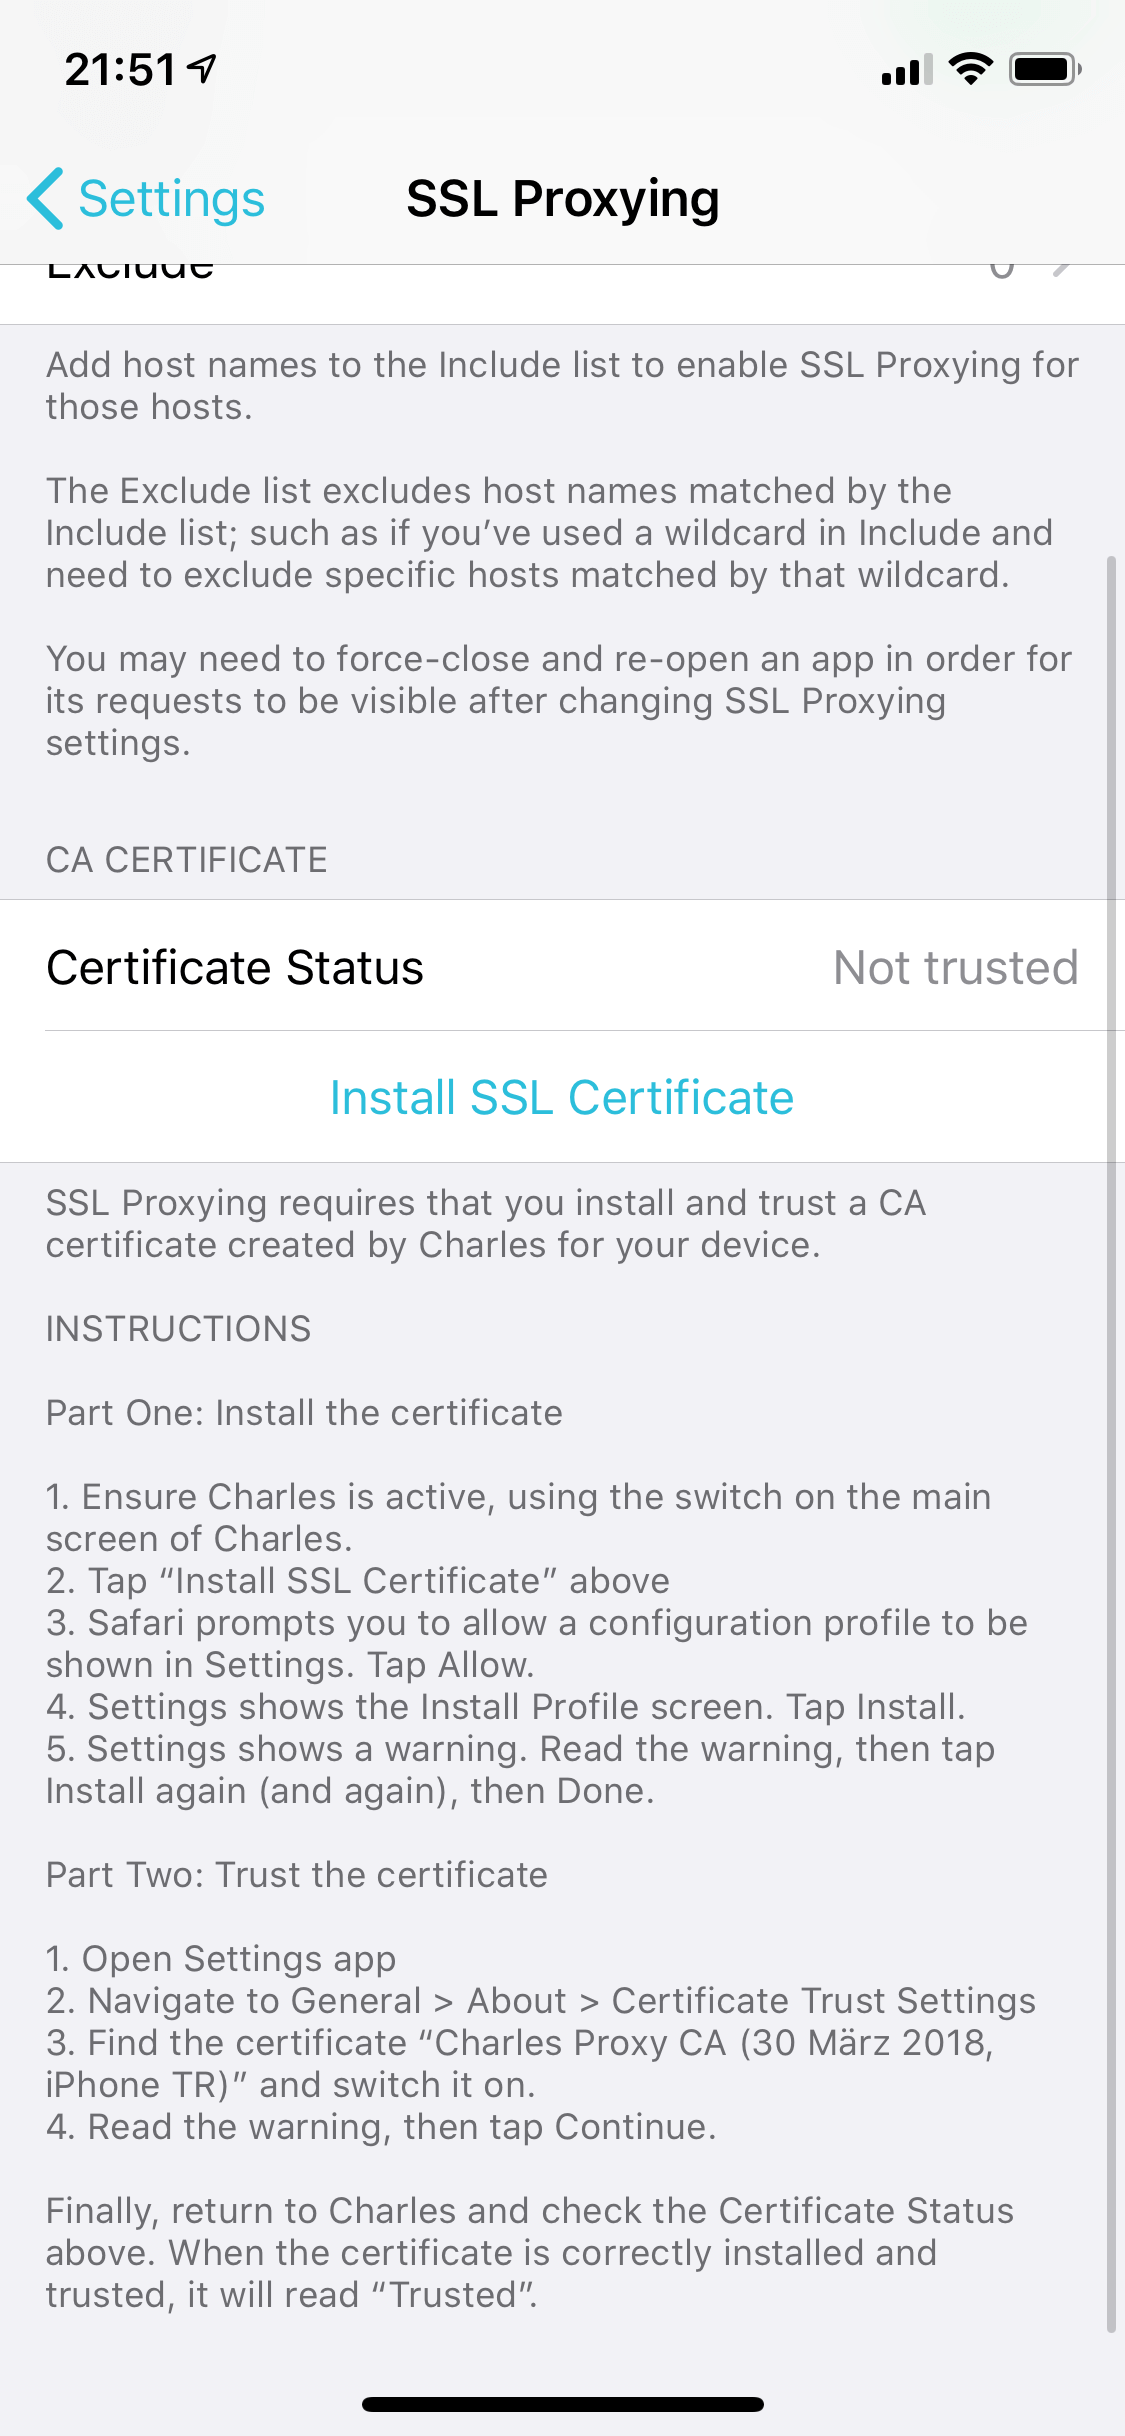
However, enabling SSL proxying is only half the work. The essential part is installing Charles’ root certificate. This root certificate is also called »CA certificate« because Charles will take the role of the »certification authority«, i.e. the entity that dynamically issues certificates from now on for enabled domains.
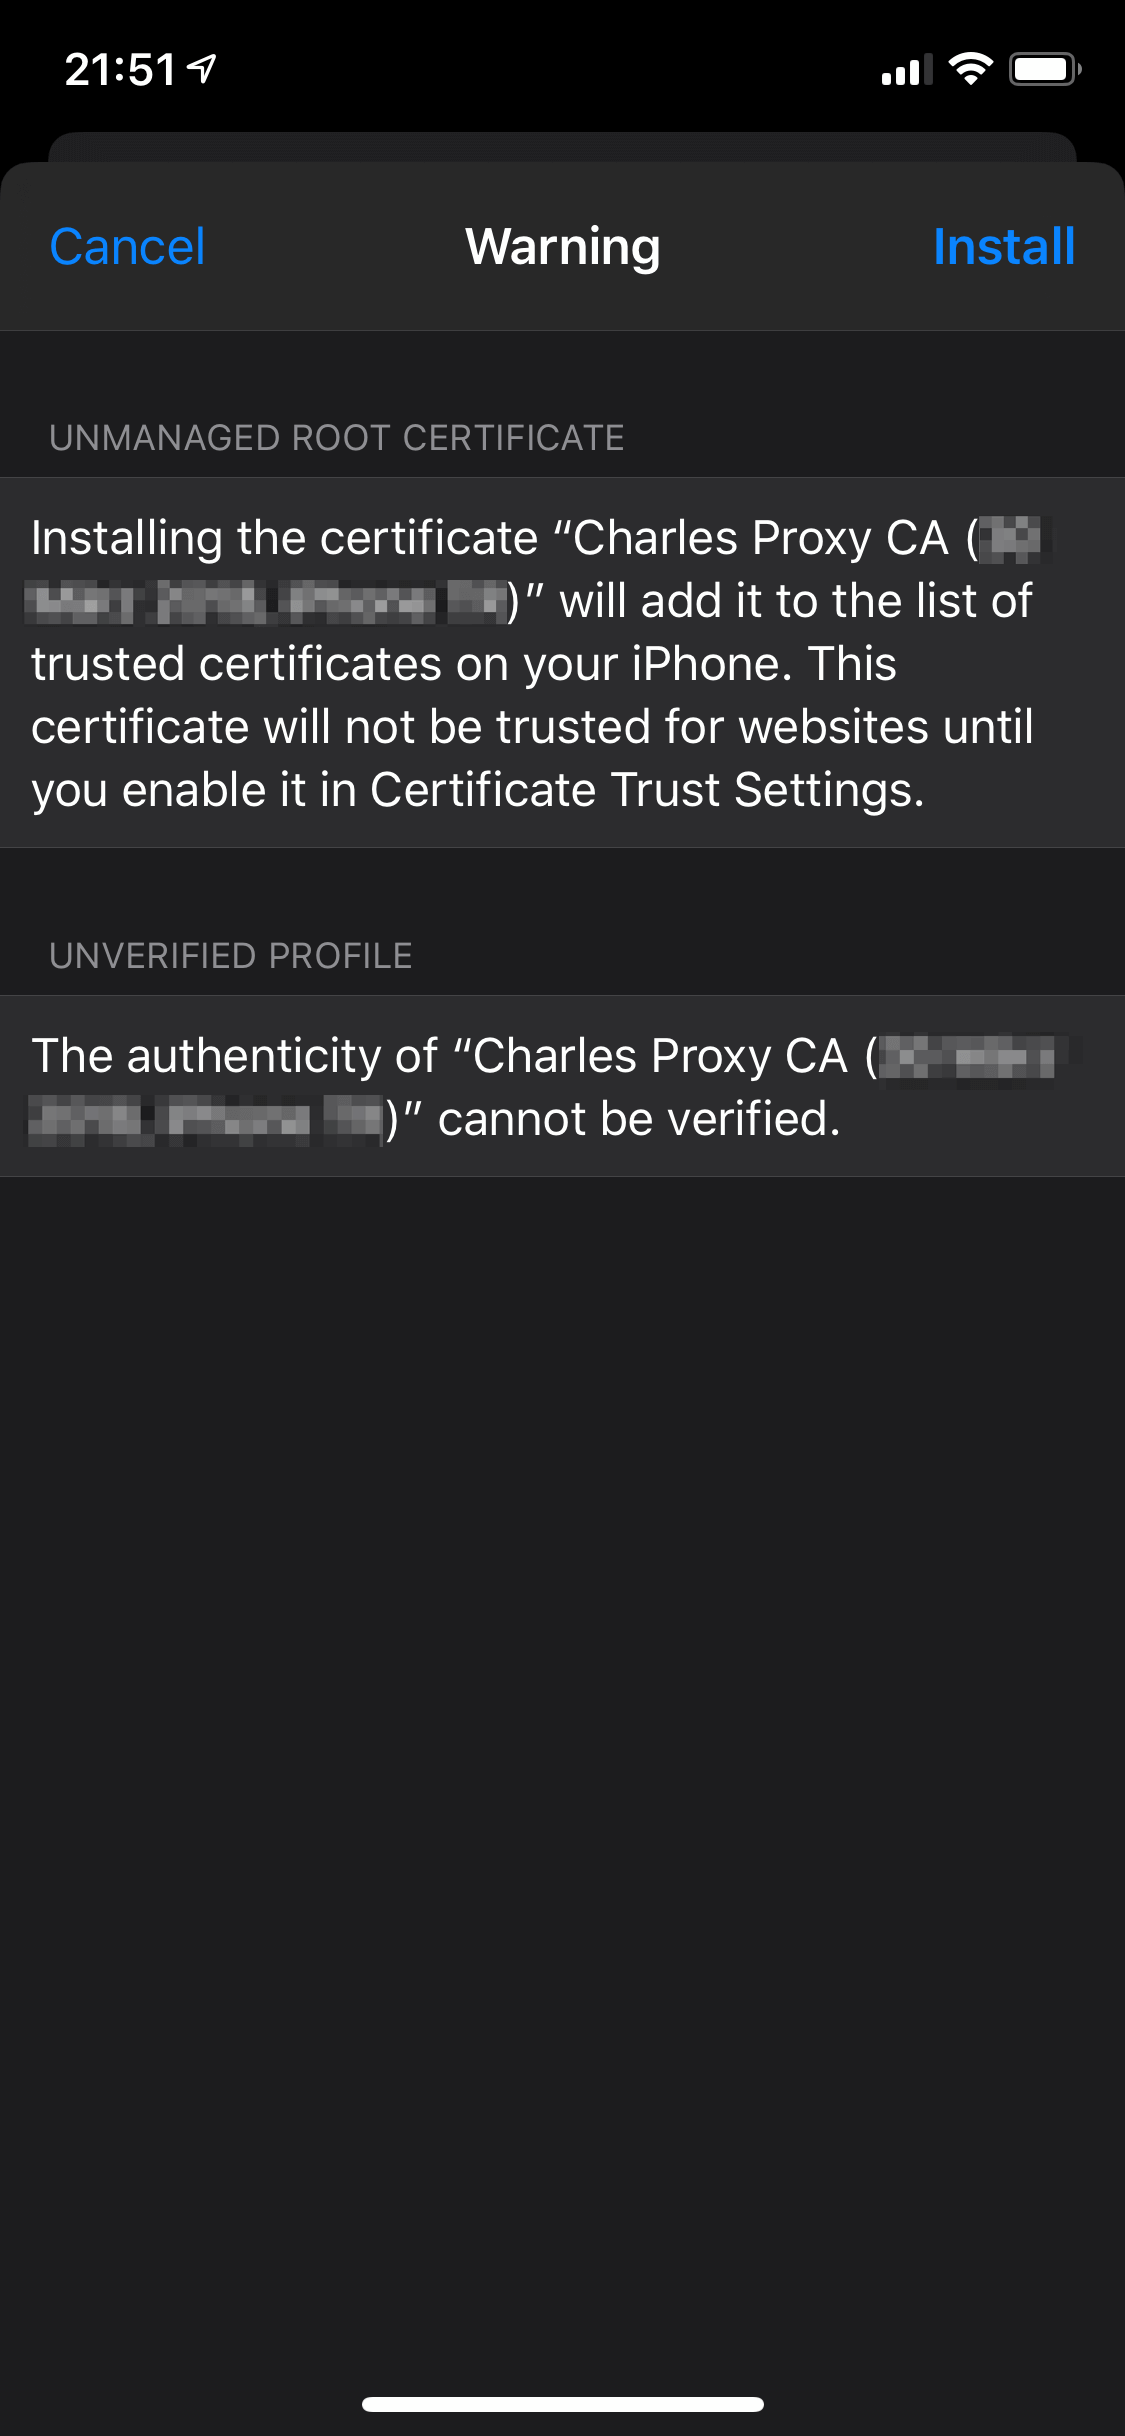
After selecting »Install SSL Certificate«, you’ll find a »Profile Downloaded« link on the top of your iOS settings. Select this link and you’ll be prompted to download and install a configuration profile.
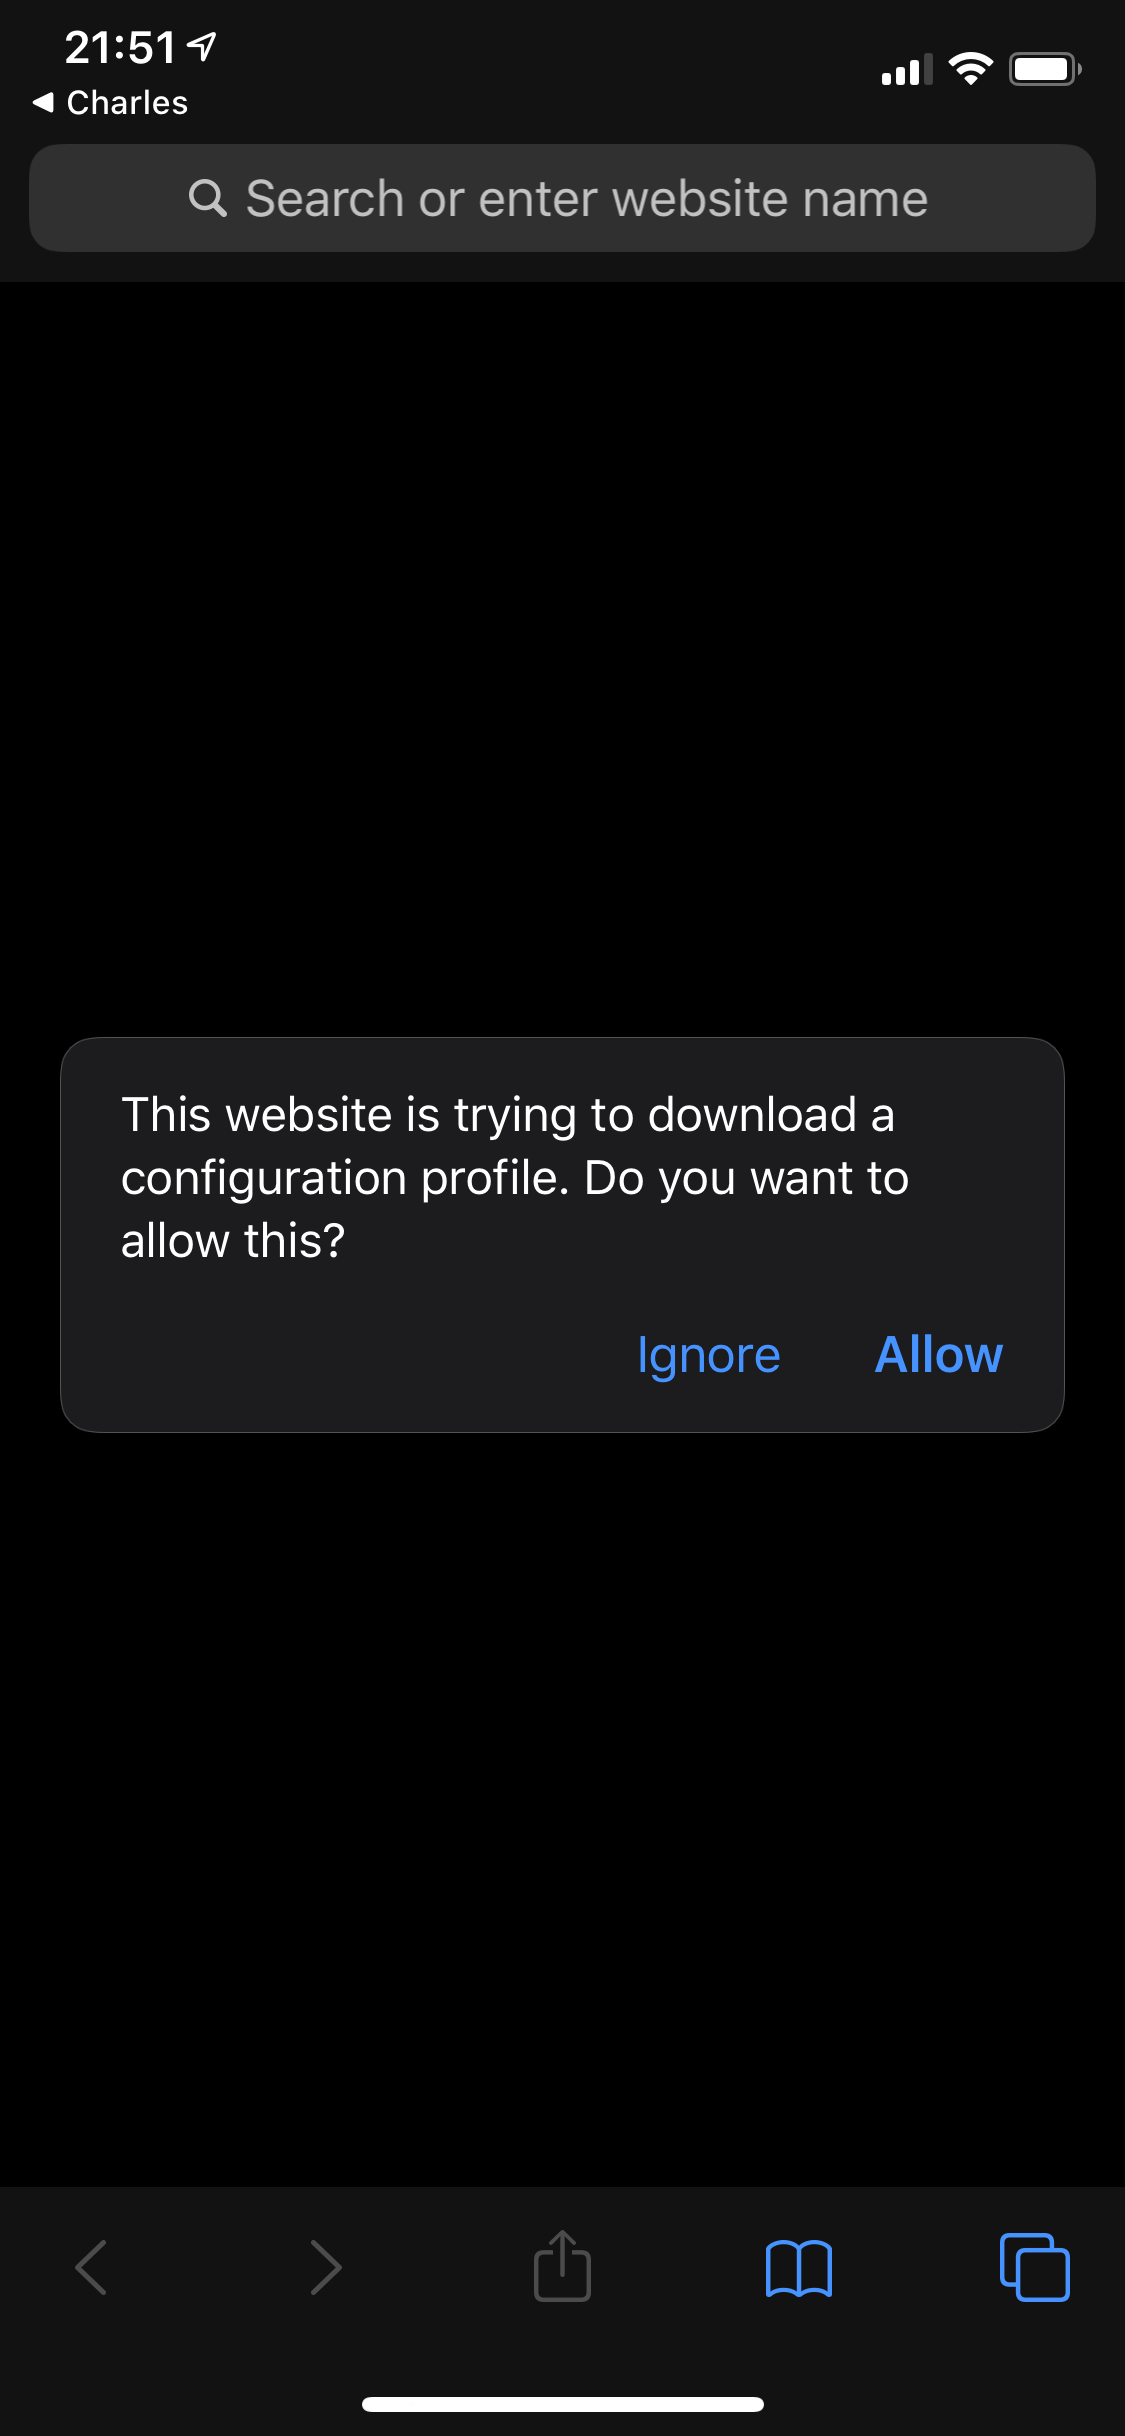
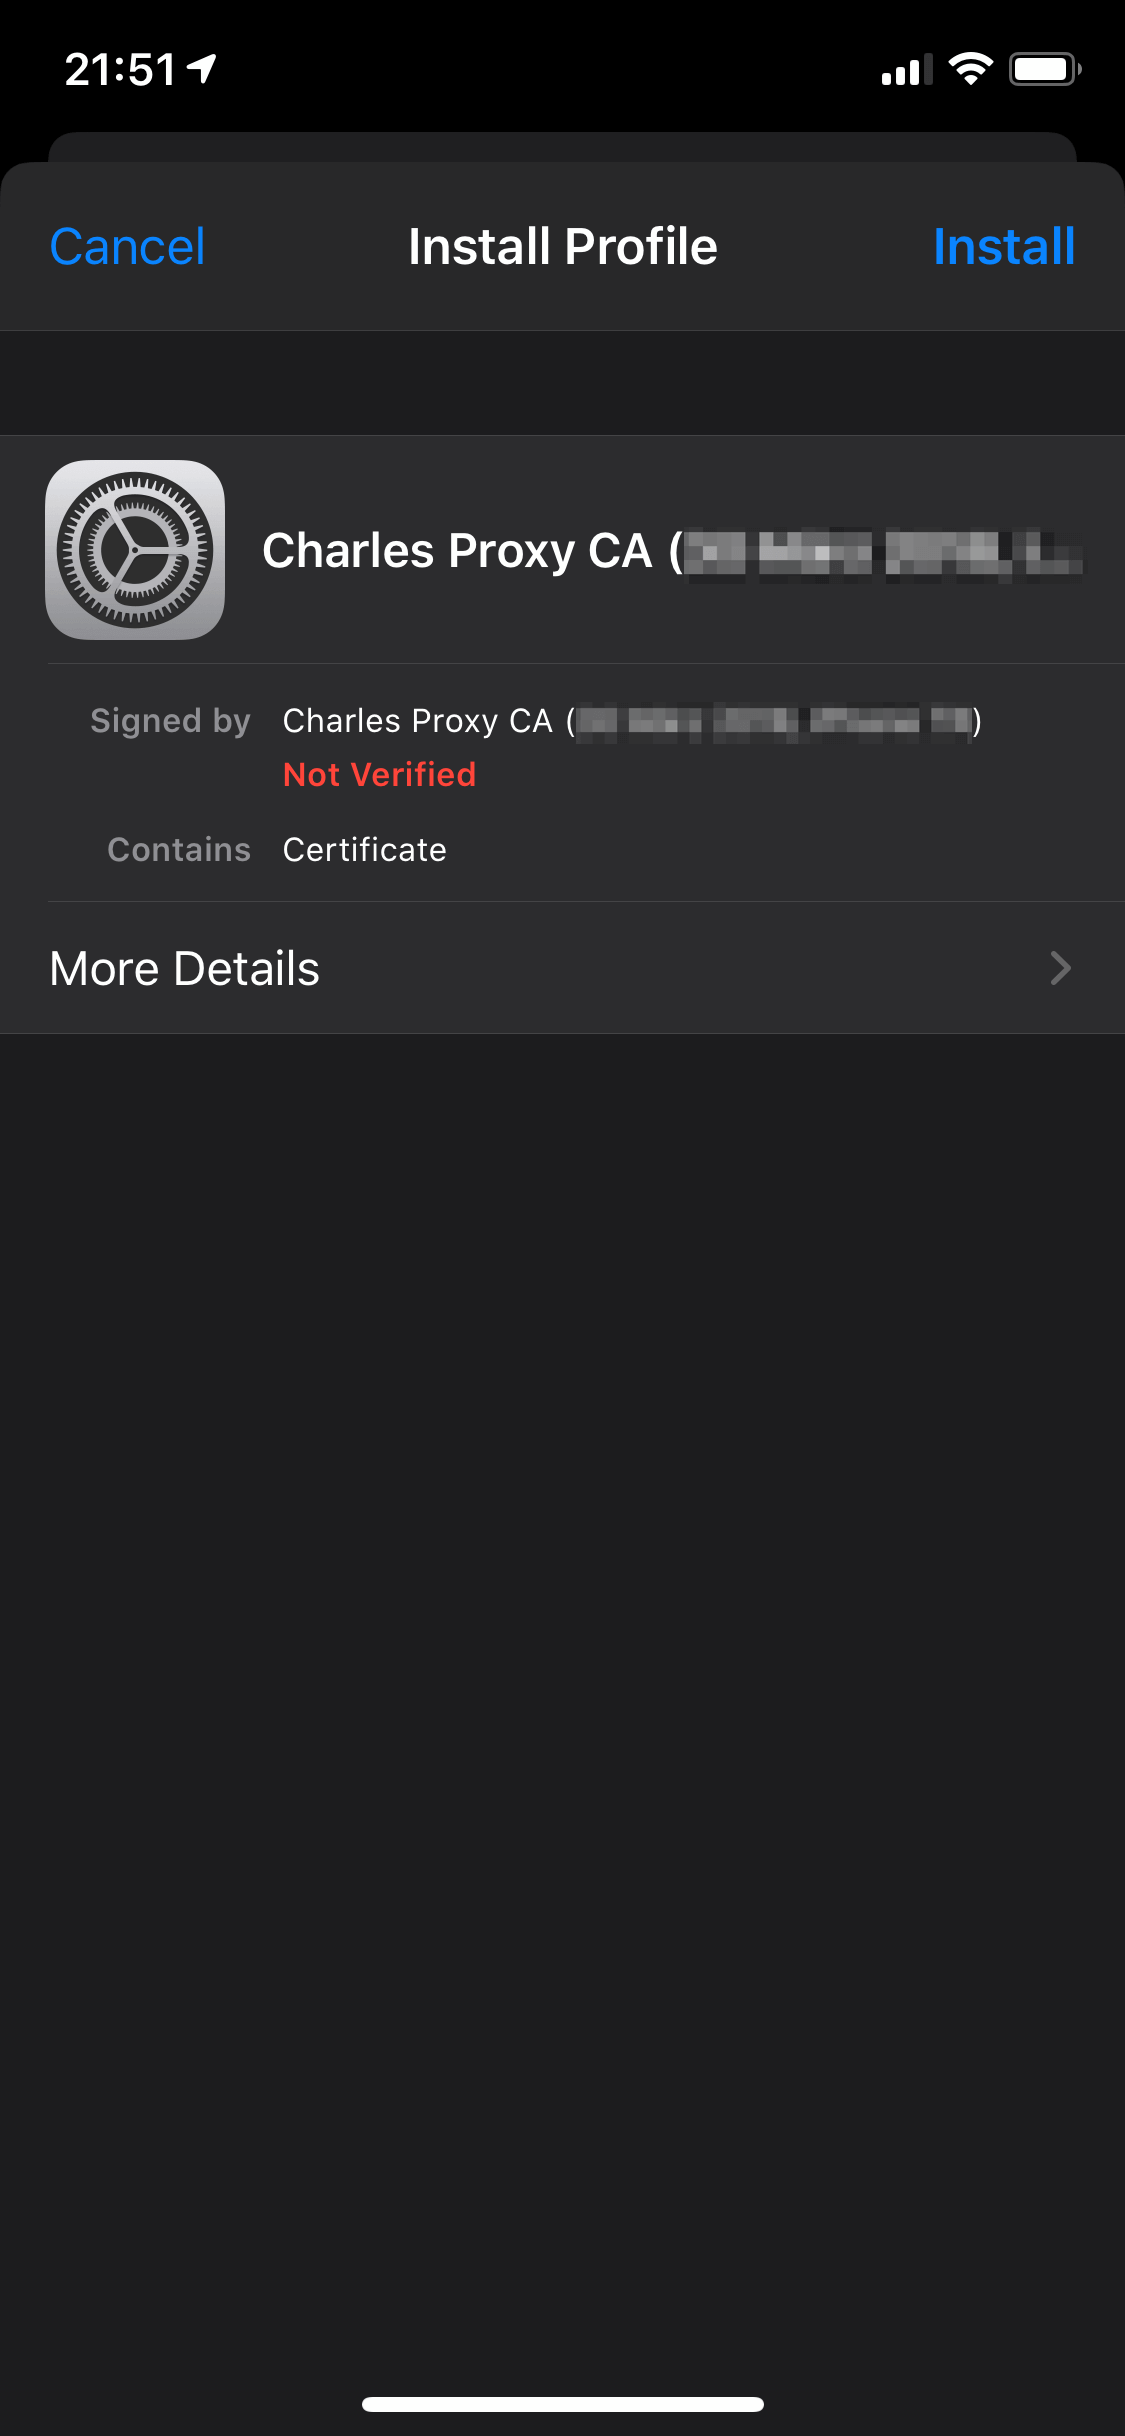
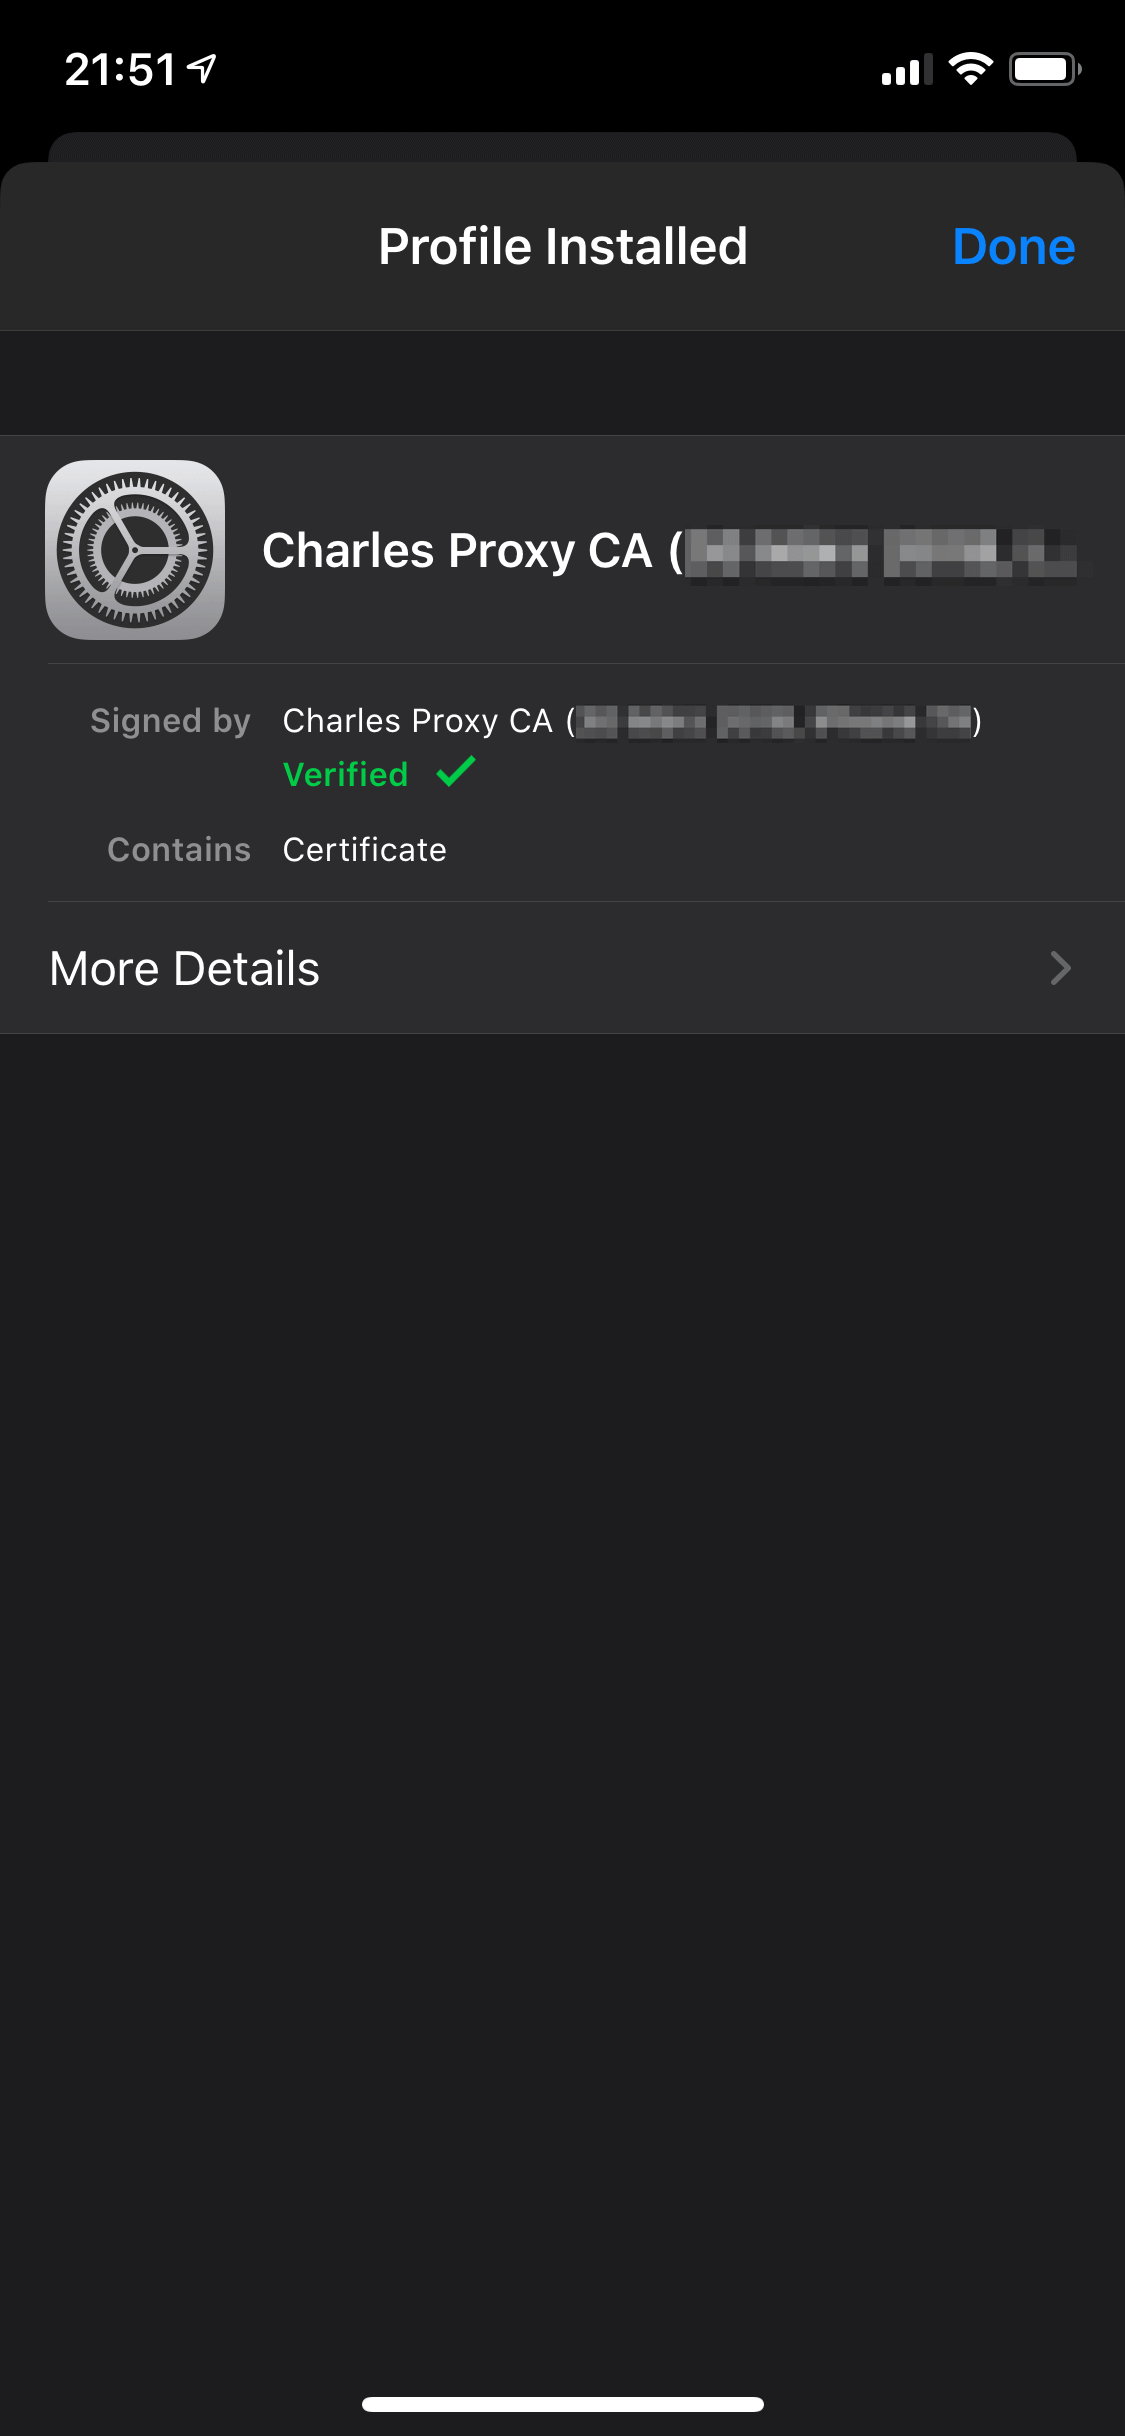
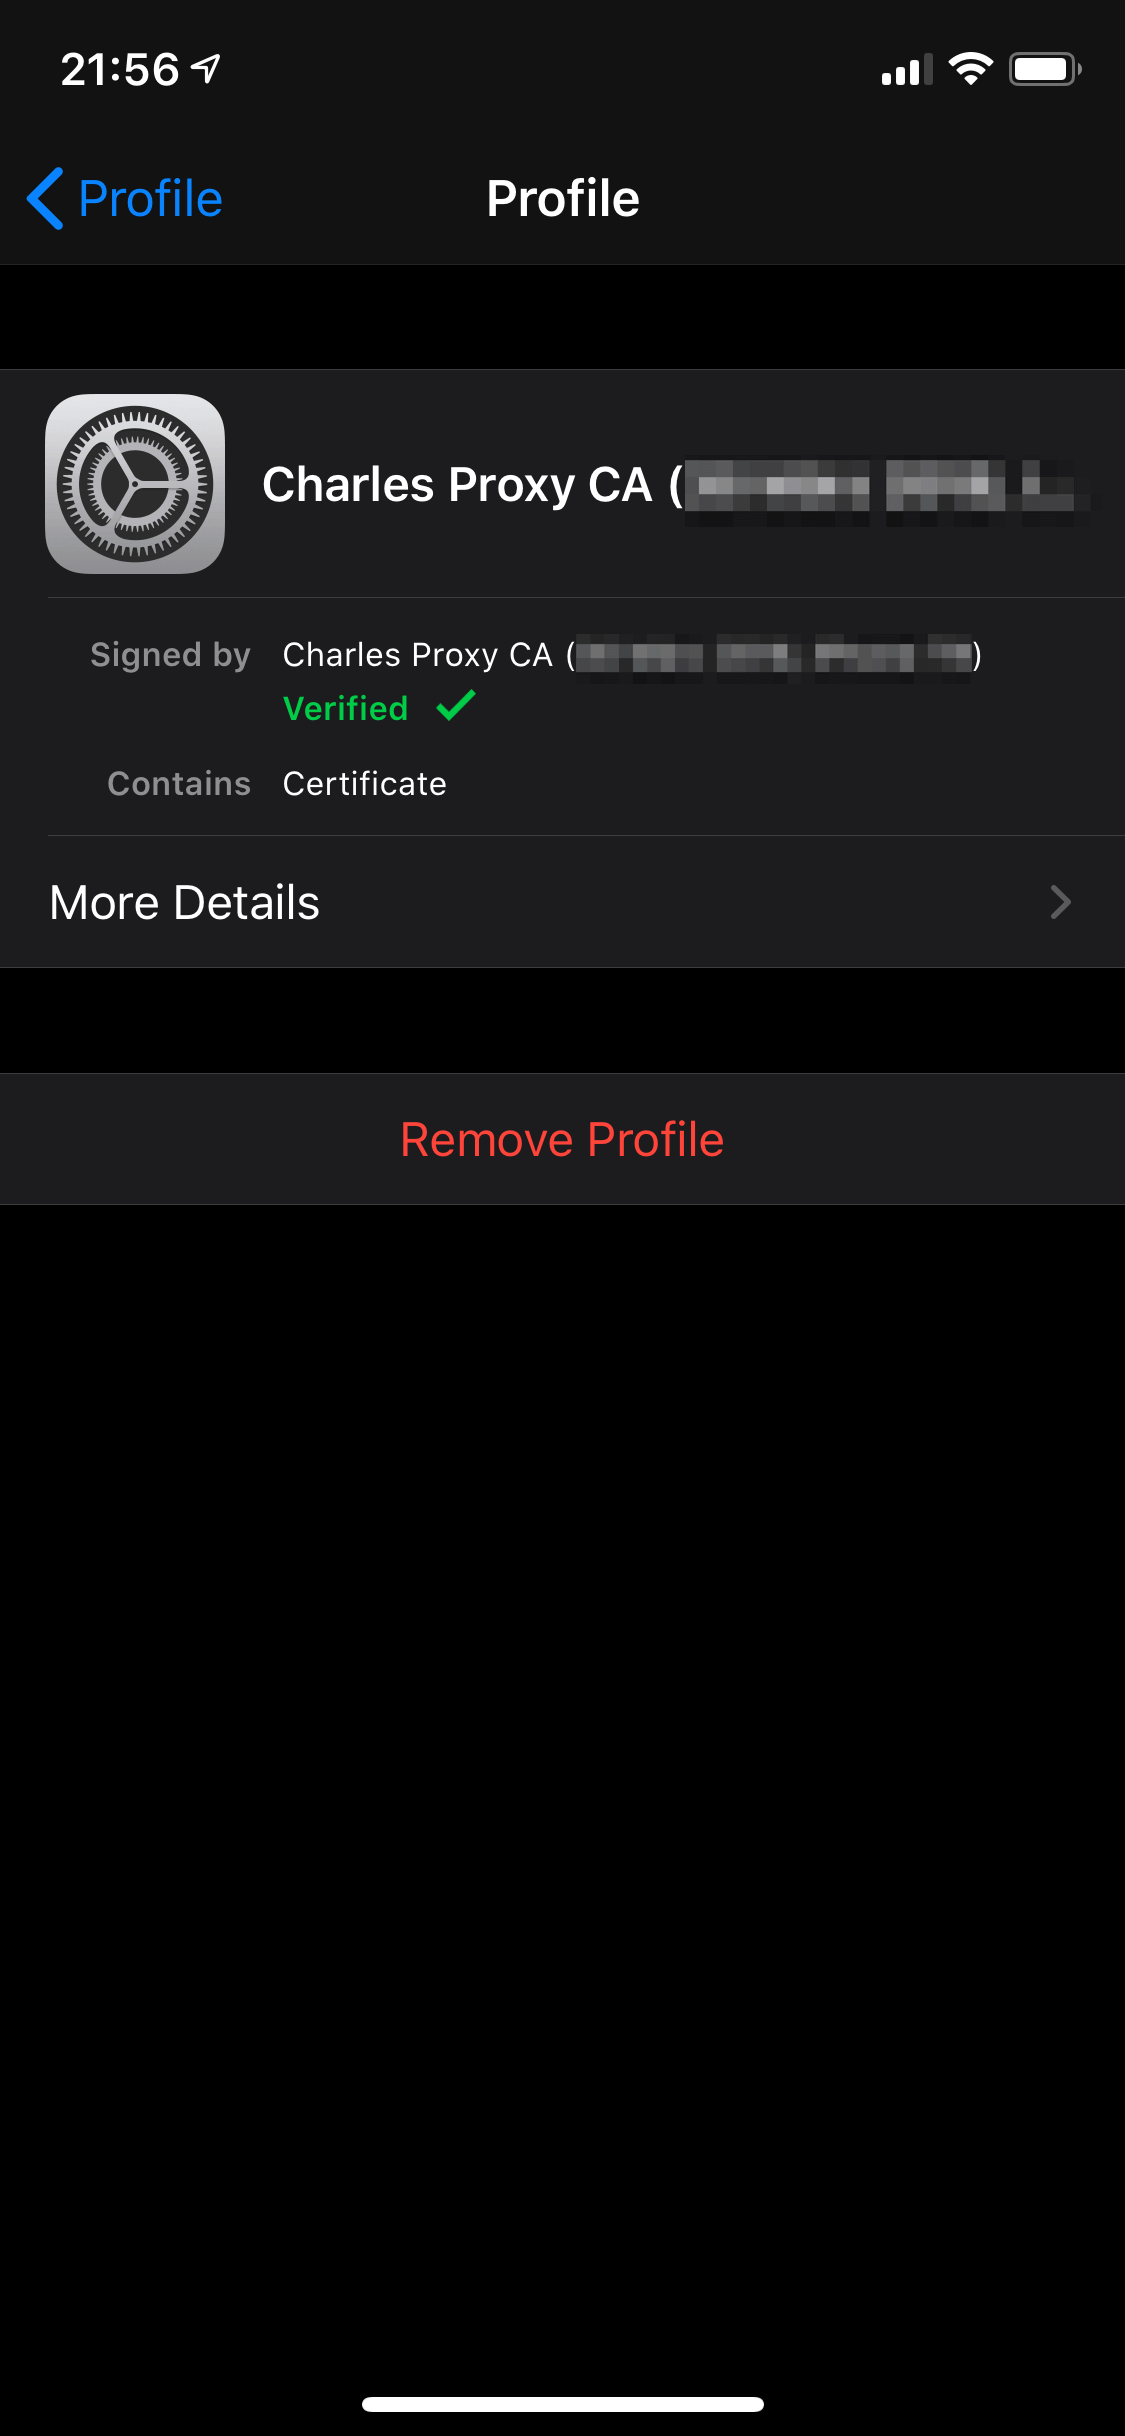
Of course, iOS will warn you that installing a root certificate may not be a good idea, but we know what we’re doing, or at least pretend to do so. As soon as this is done, you can find the certificate in your iOS settings under »General« → »Profile«.
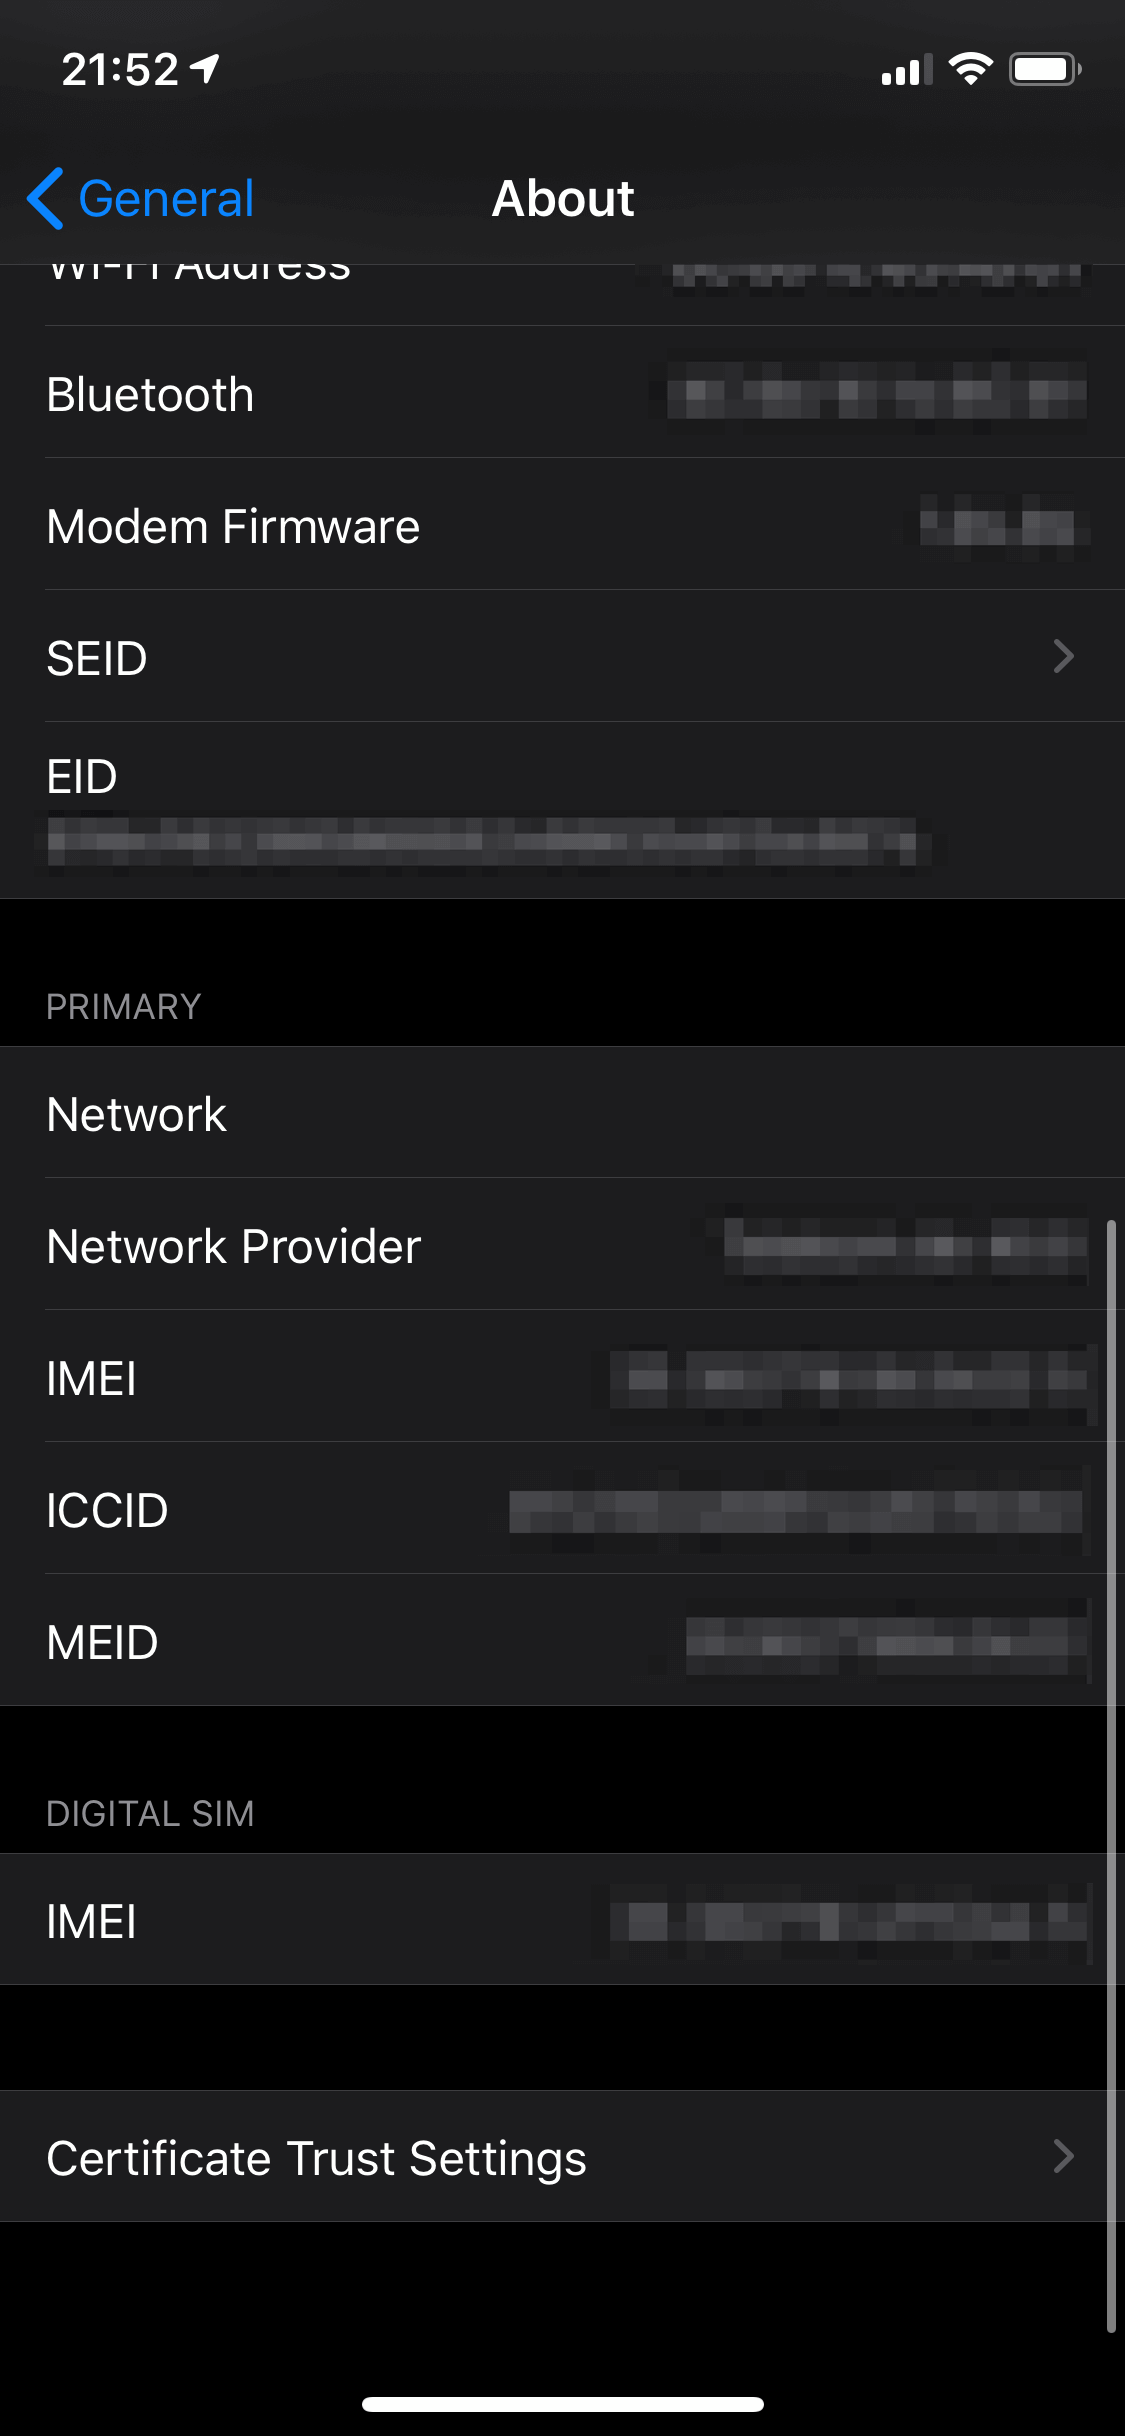
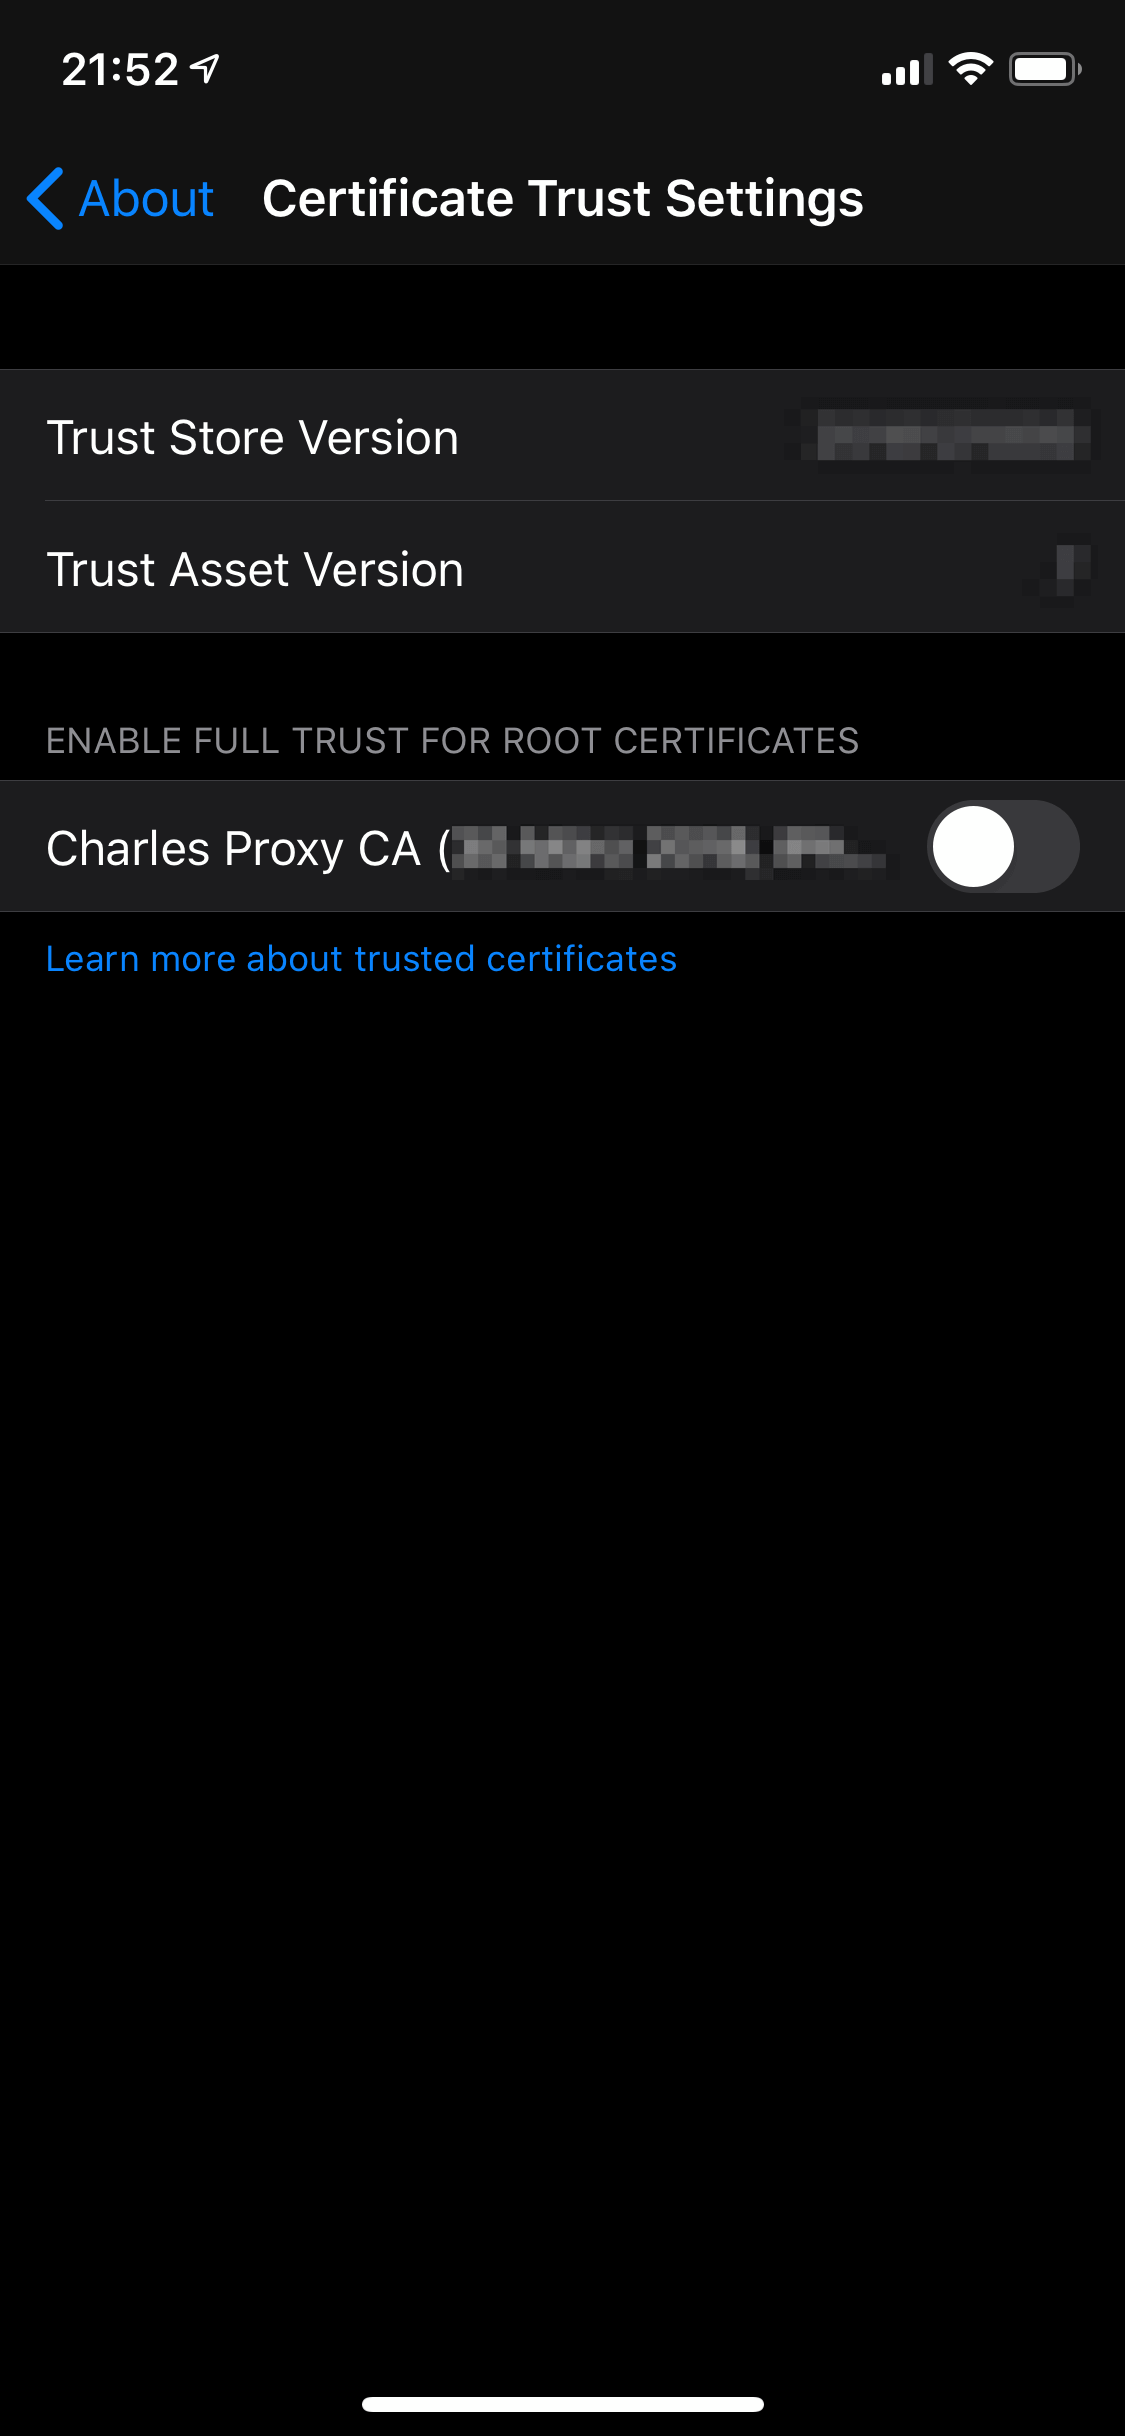
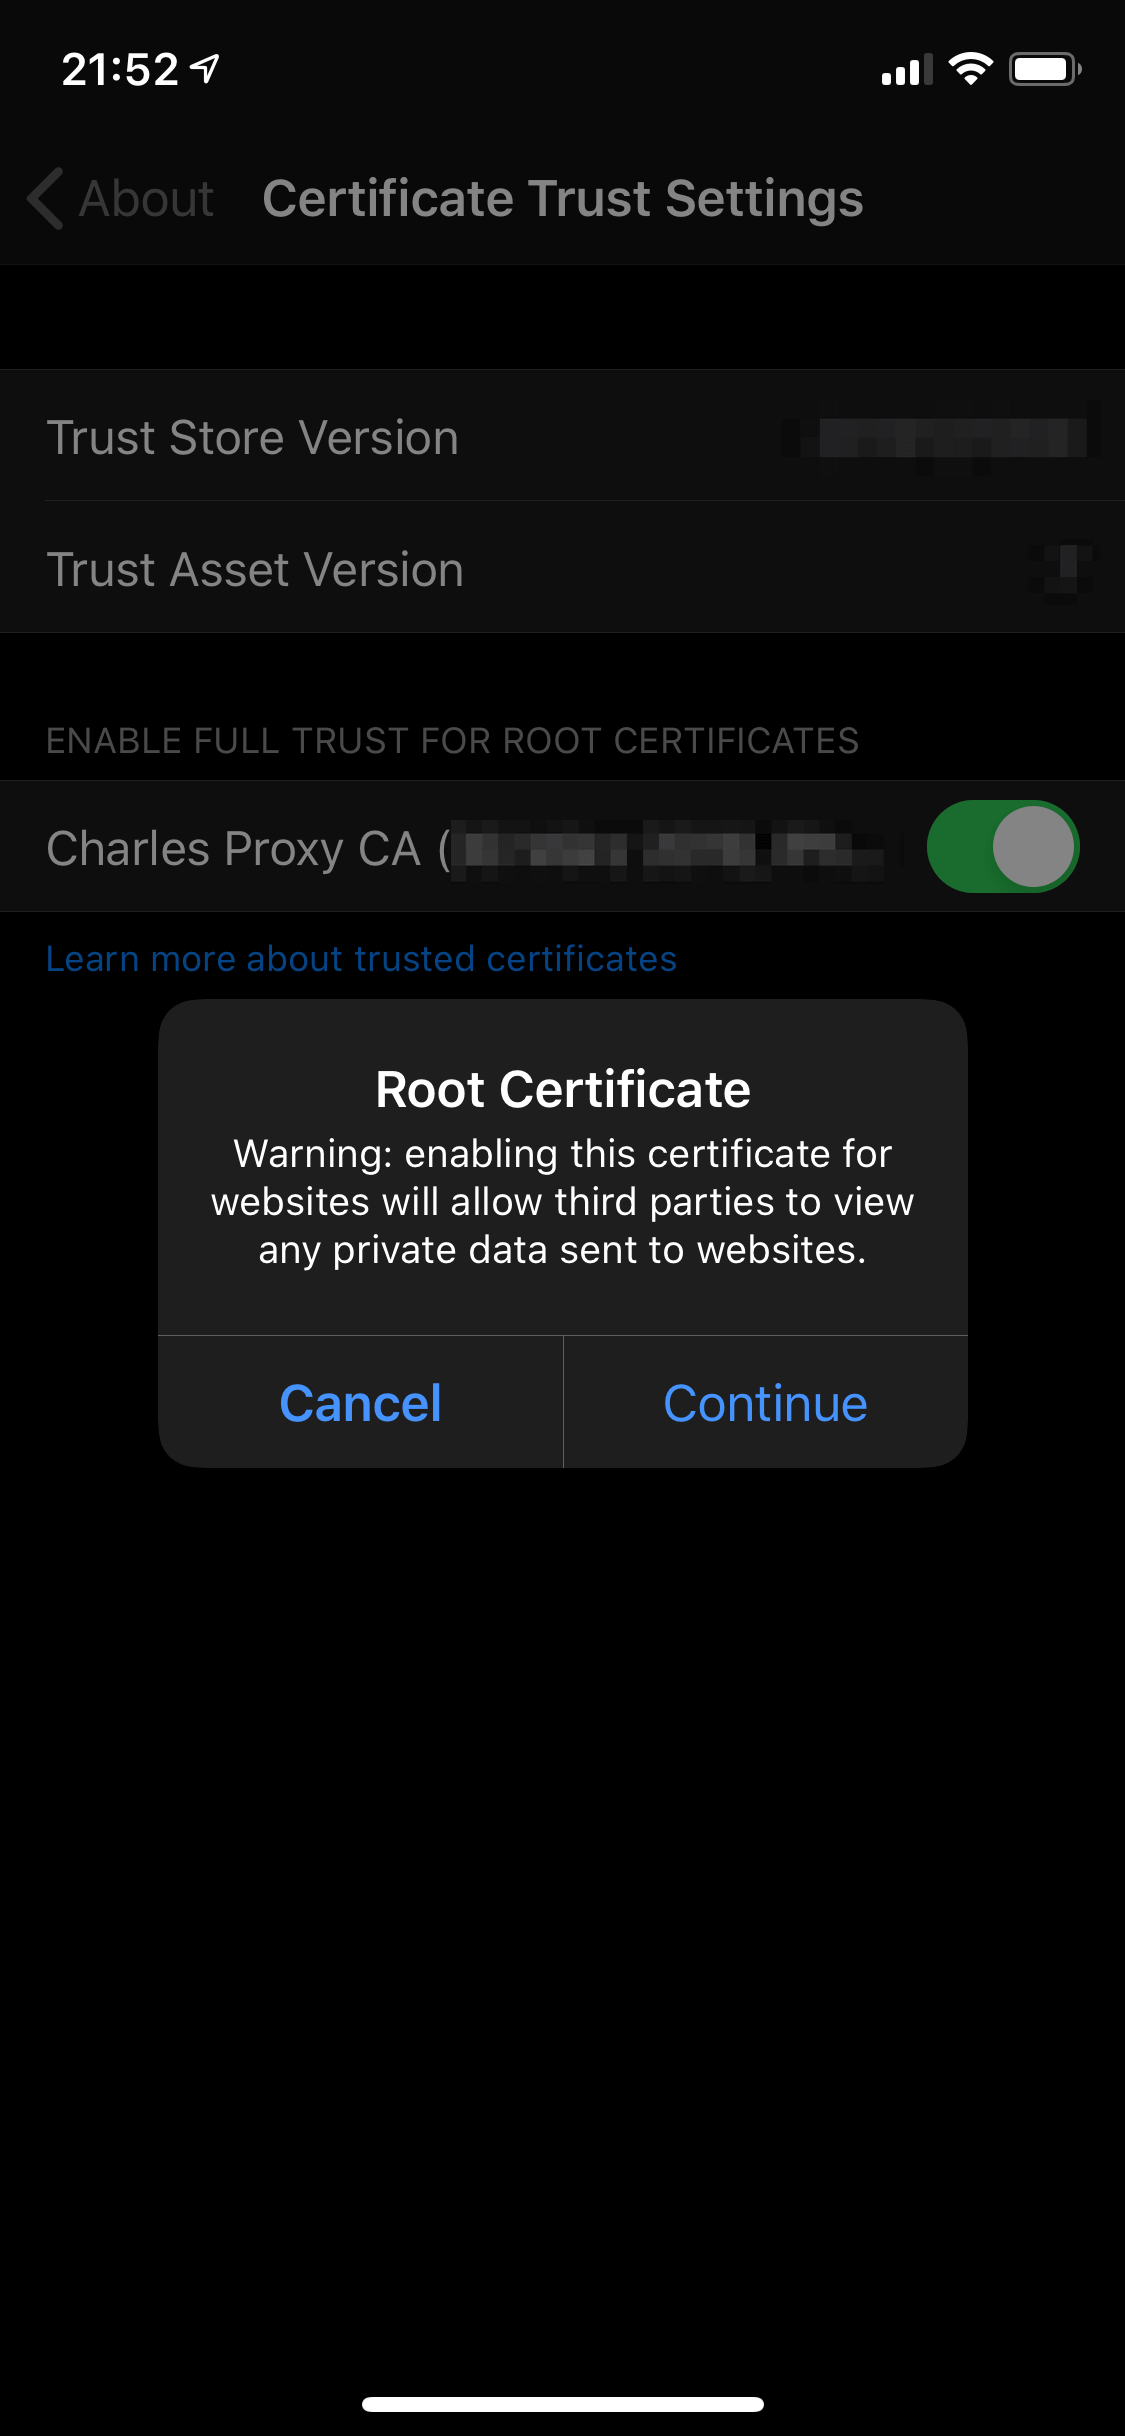
Finally, you have to enable full trust for the Charles root certificate by choosing »General« → »Profile« → »About« in your iOS settings and enabling the »full trust« switcher. Again, iOS will warn you about your intentions.
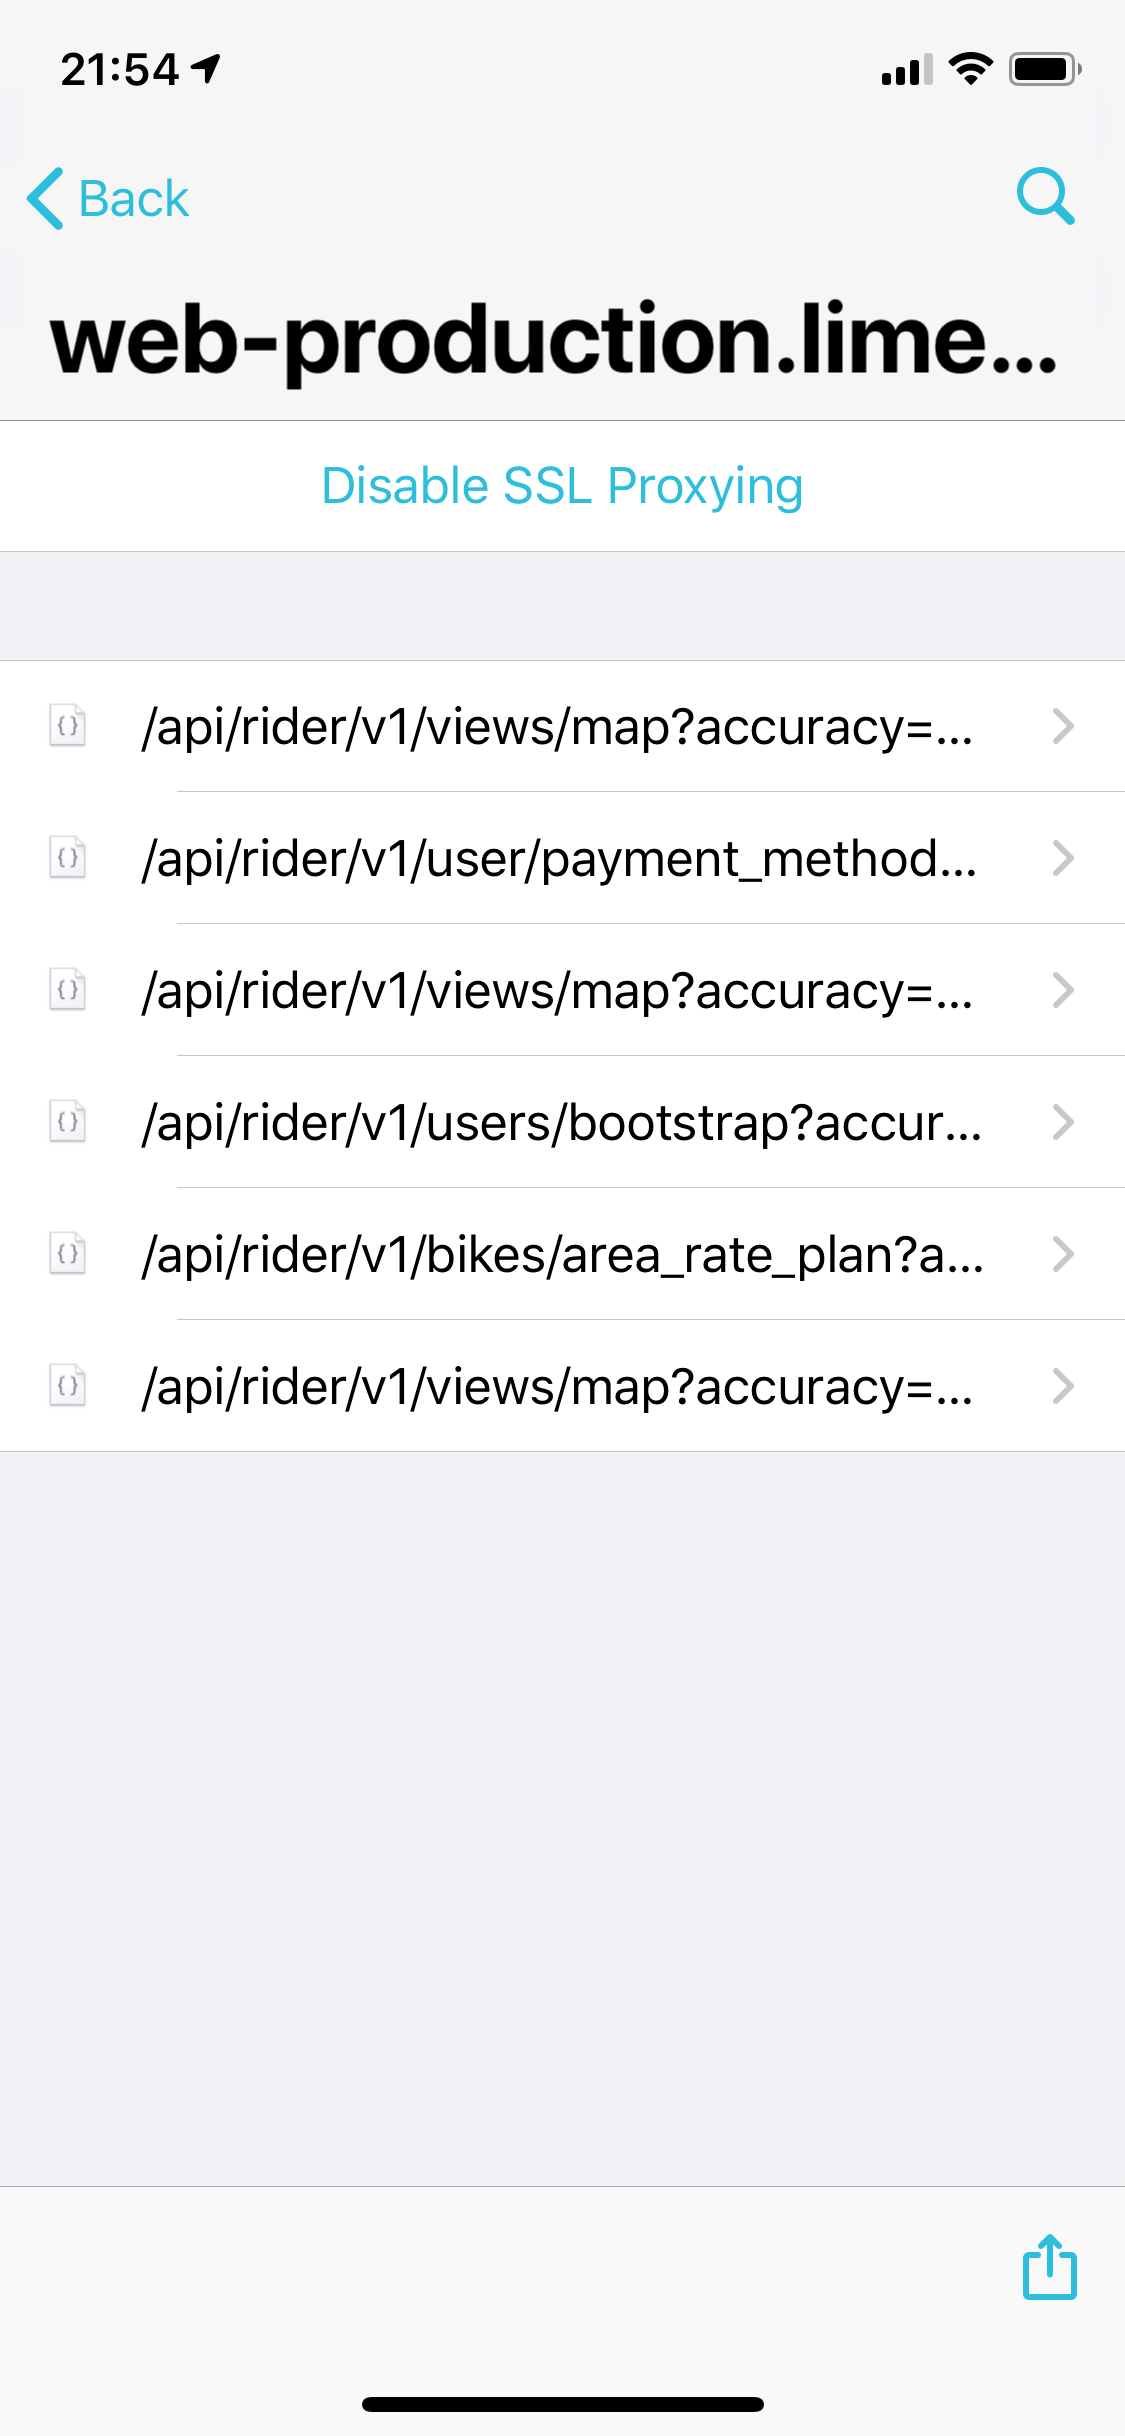
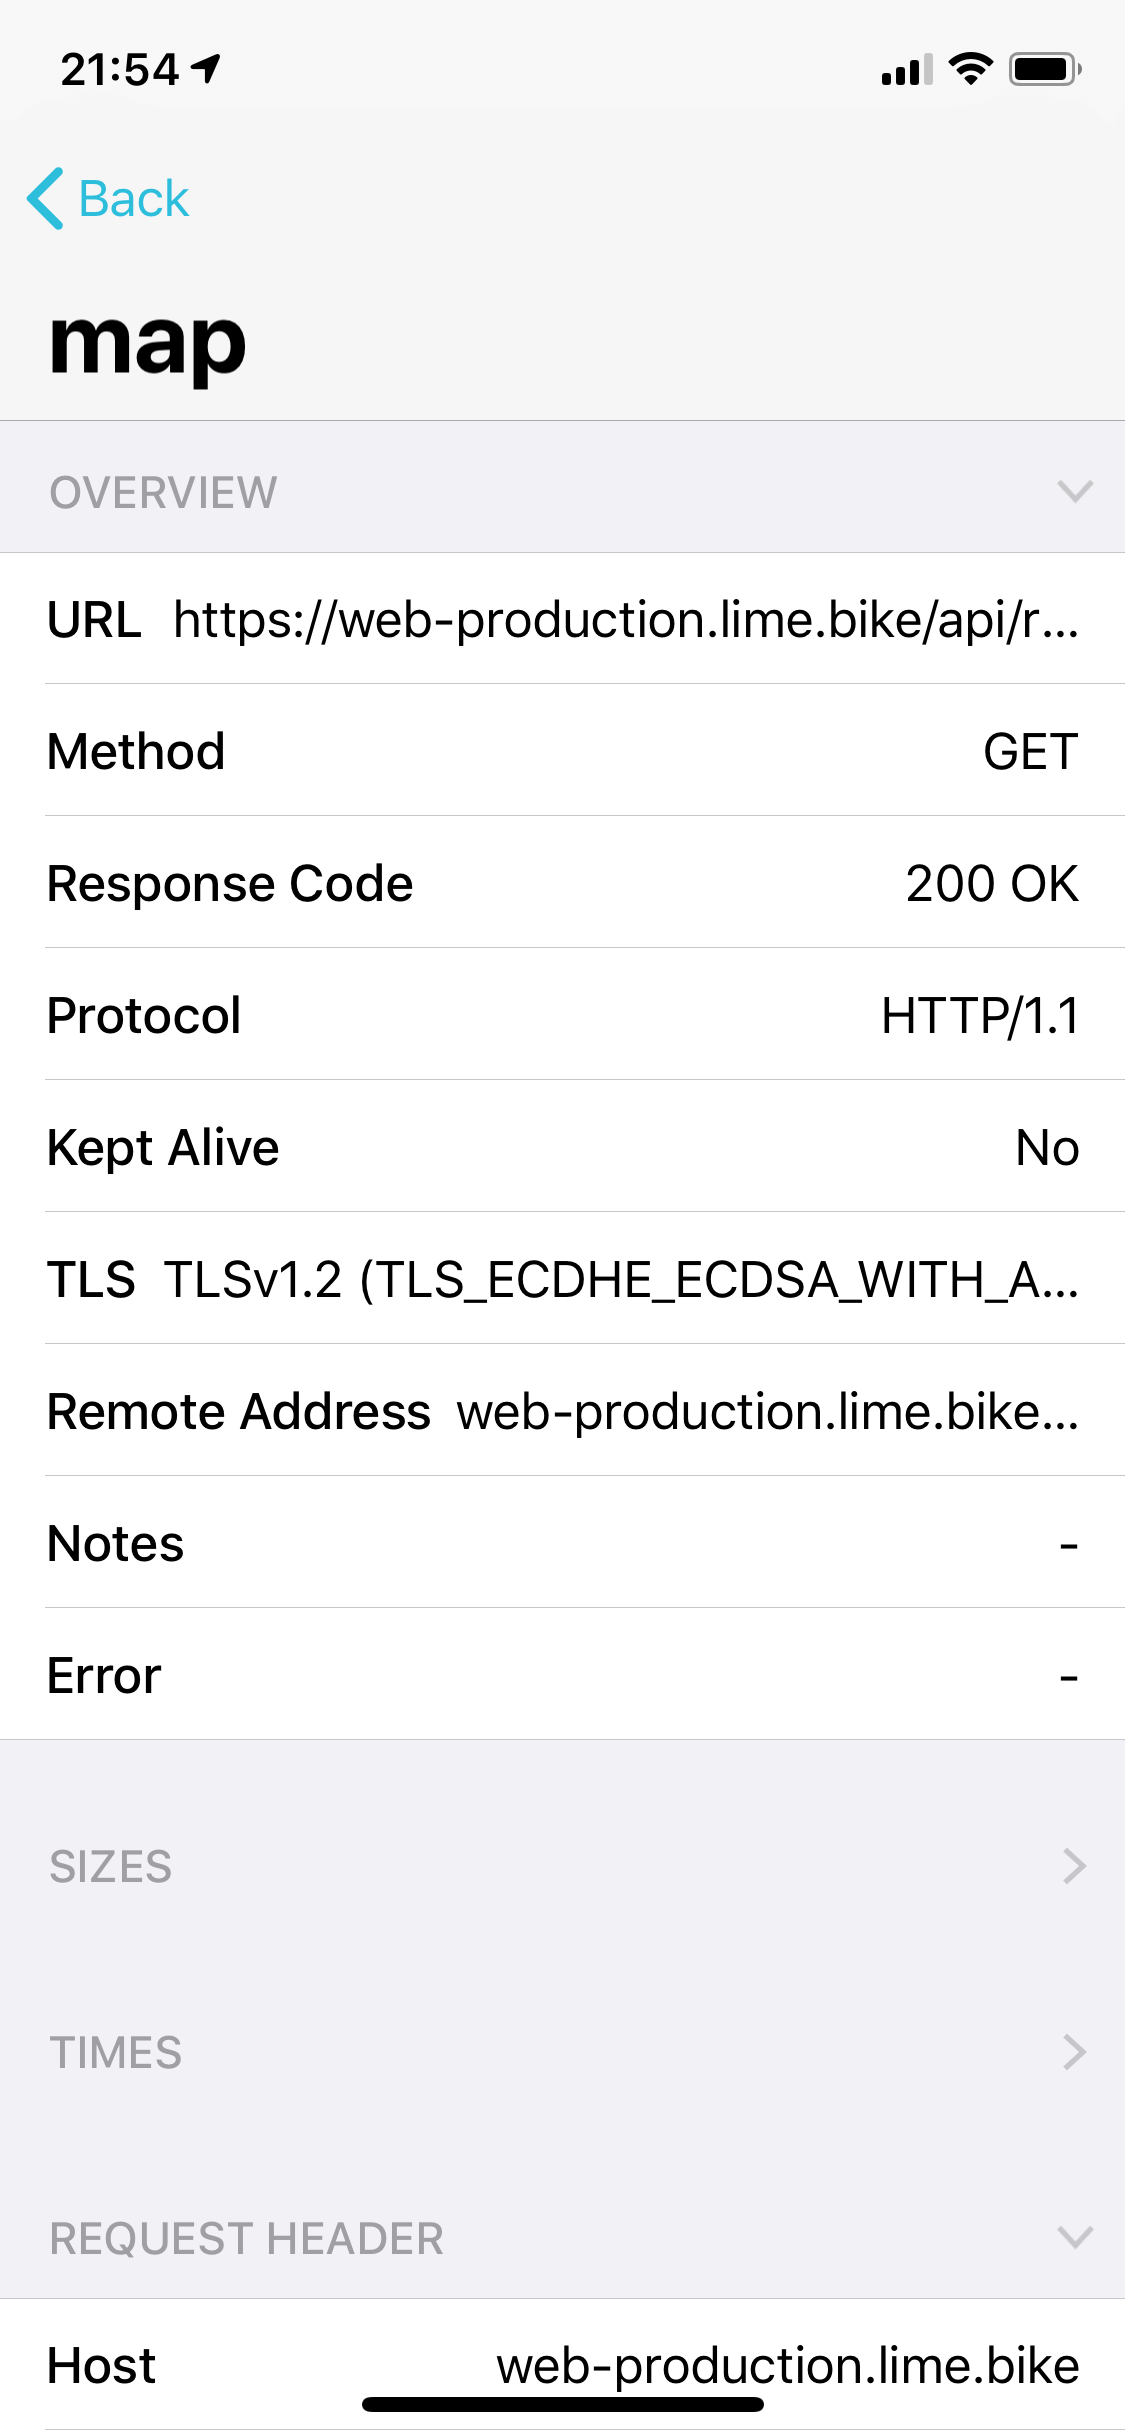
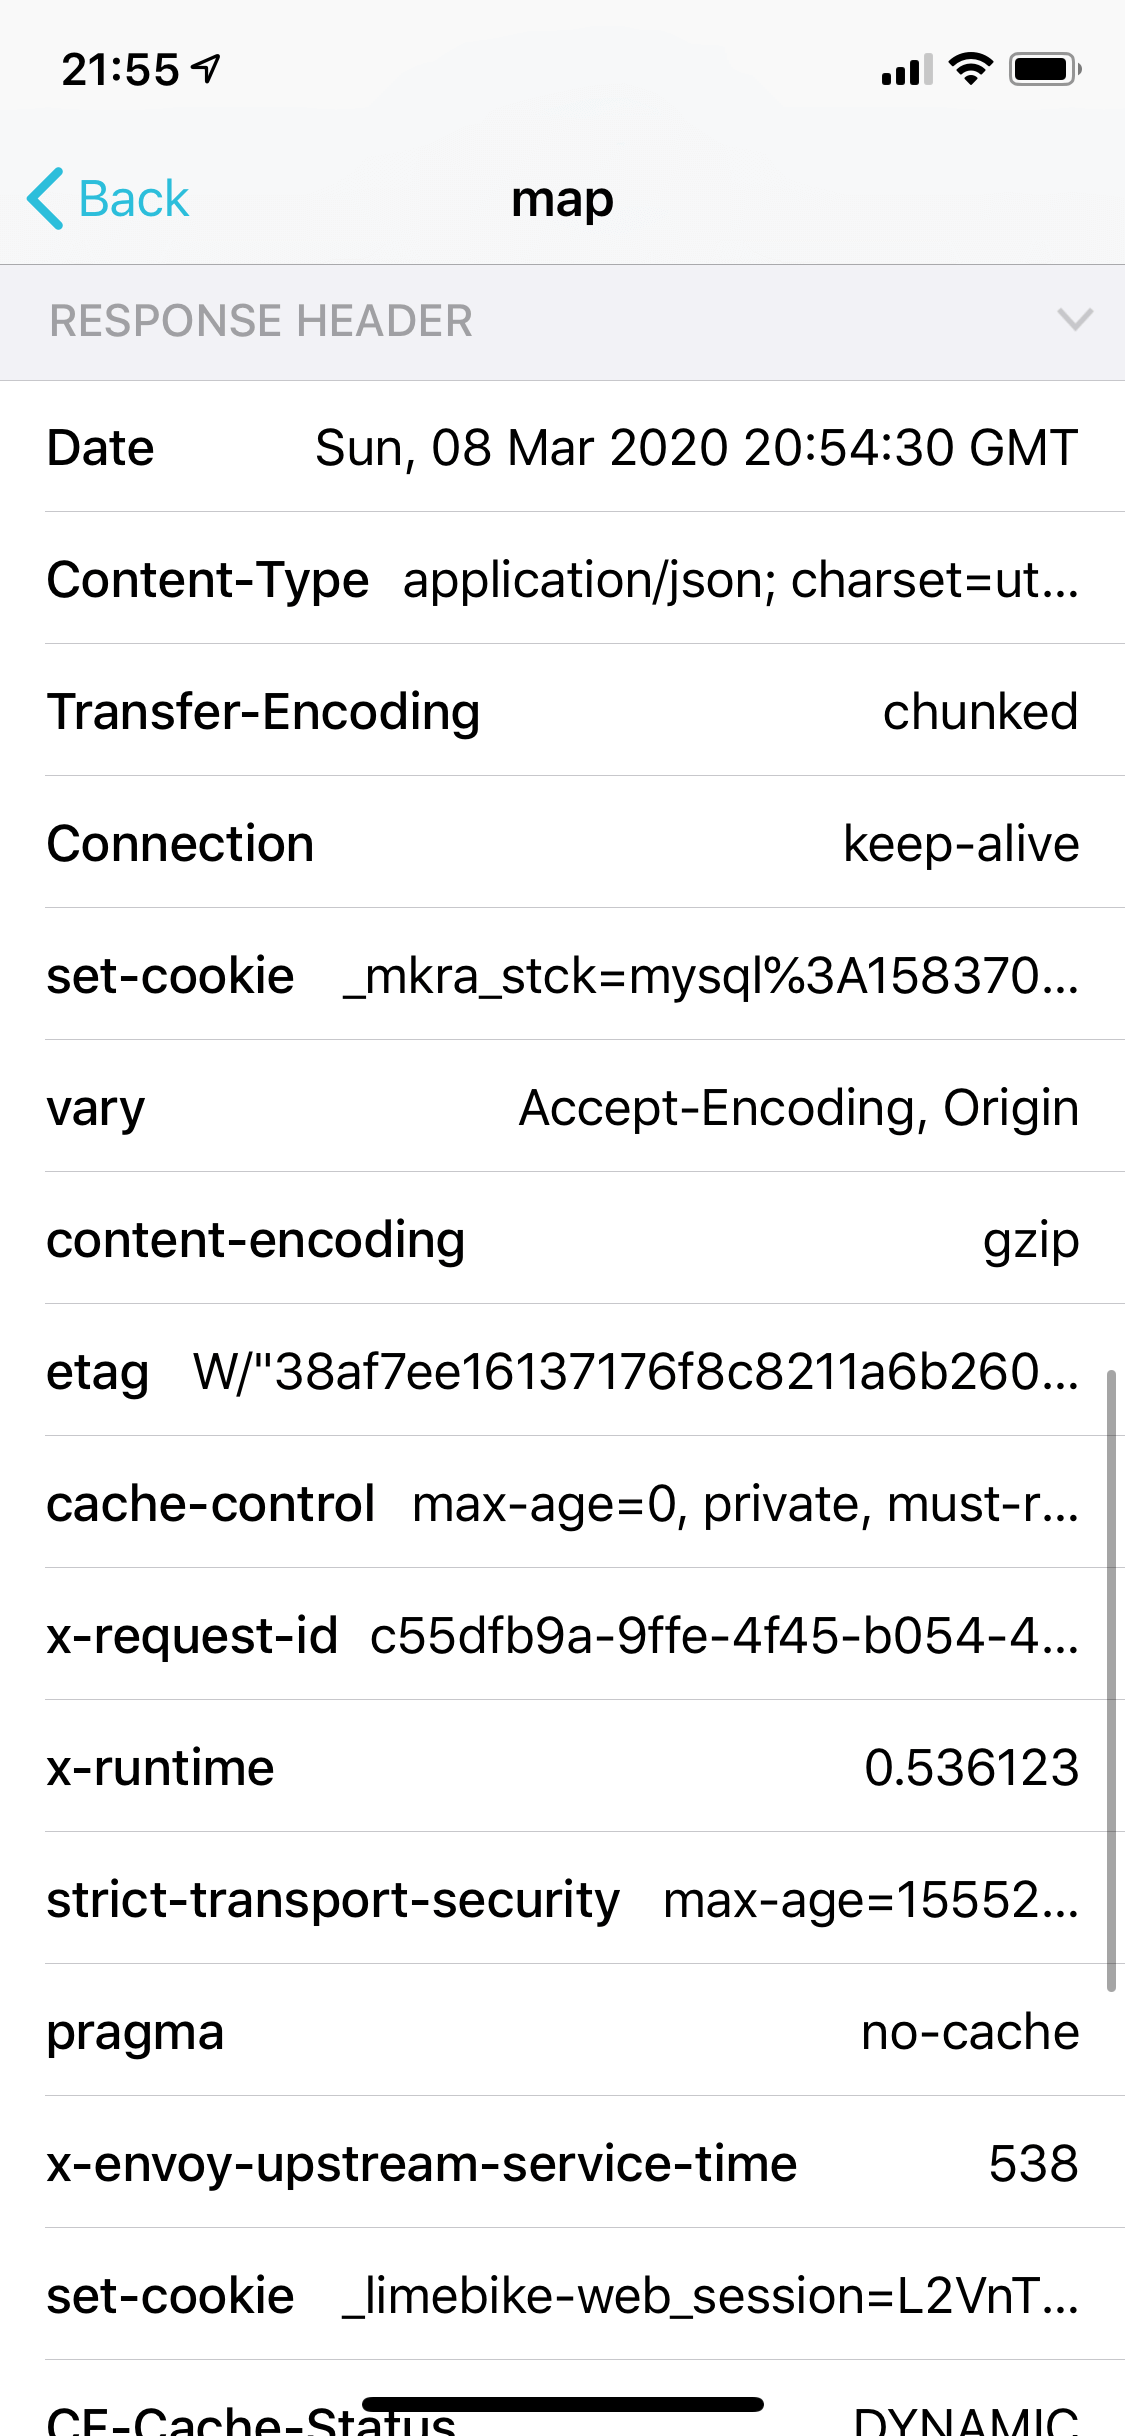
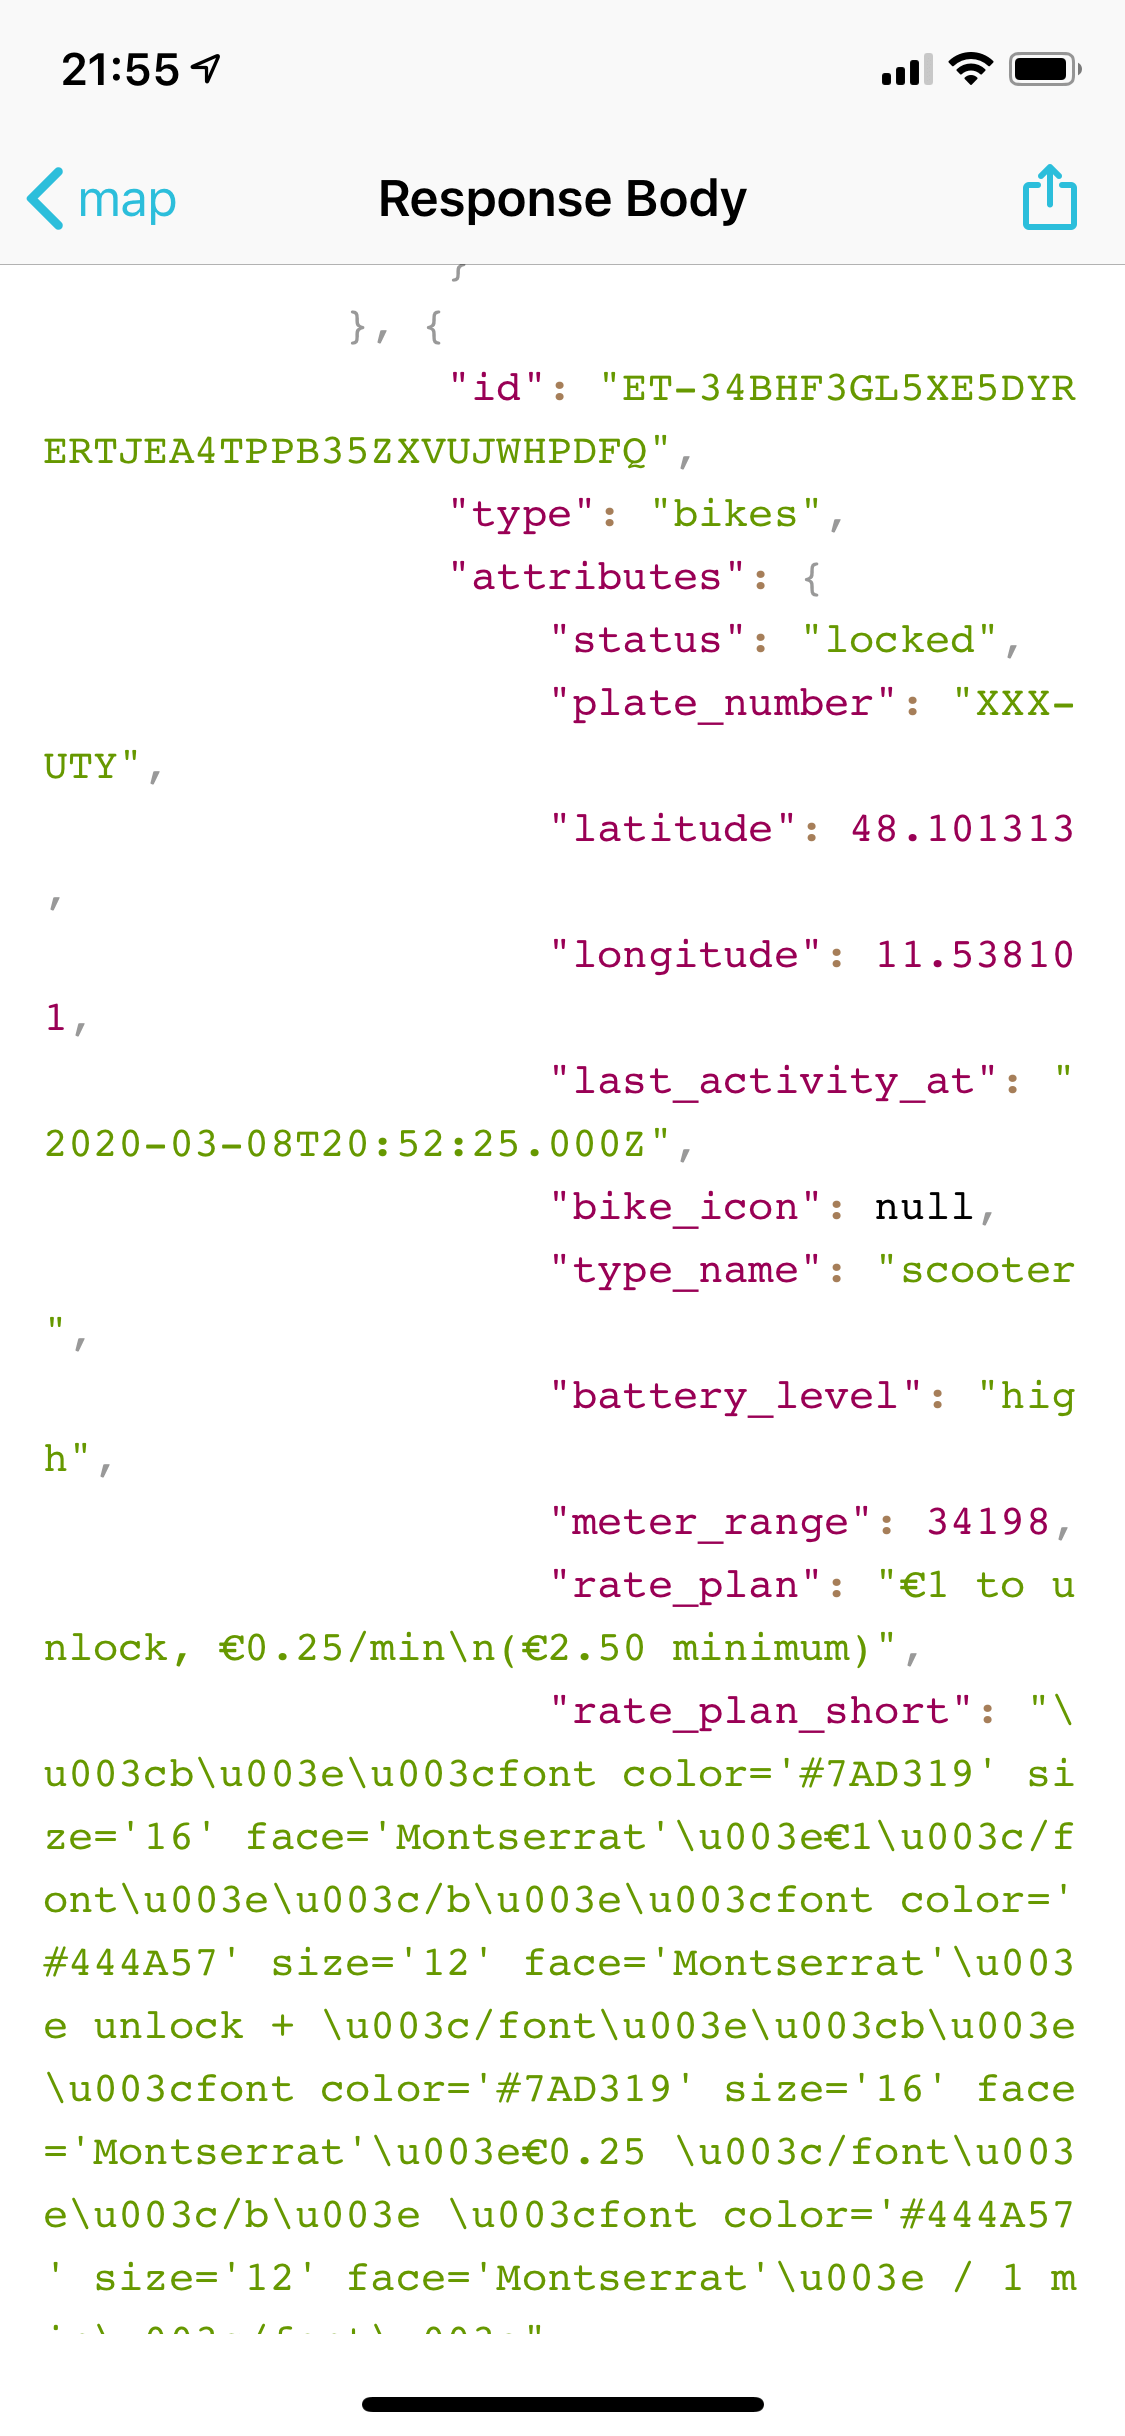
Attention: Charles won’t intercept all HTTPS requests and you’ll have to enable SSL proxying on a per-host-name basis by selecting »Enable SSL Proxying« for the respective host names. After that, you should be able to see details for these HTTPS requests.
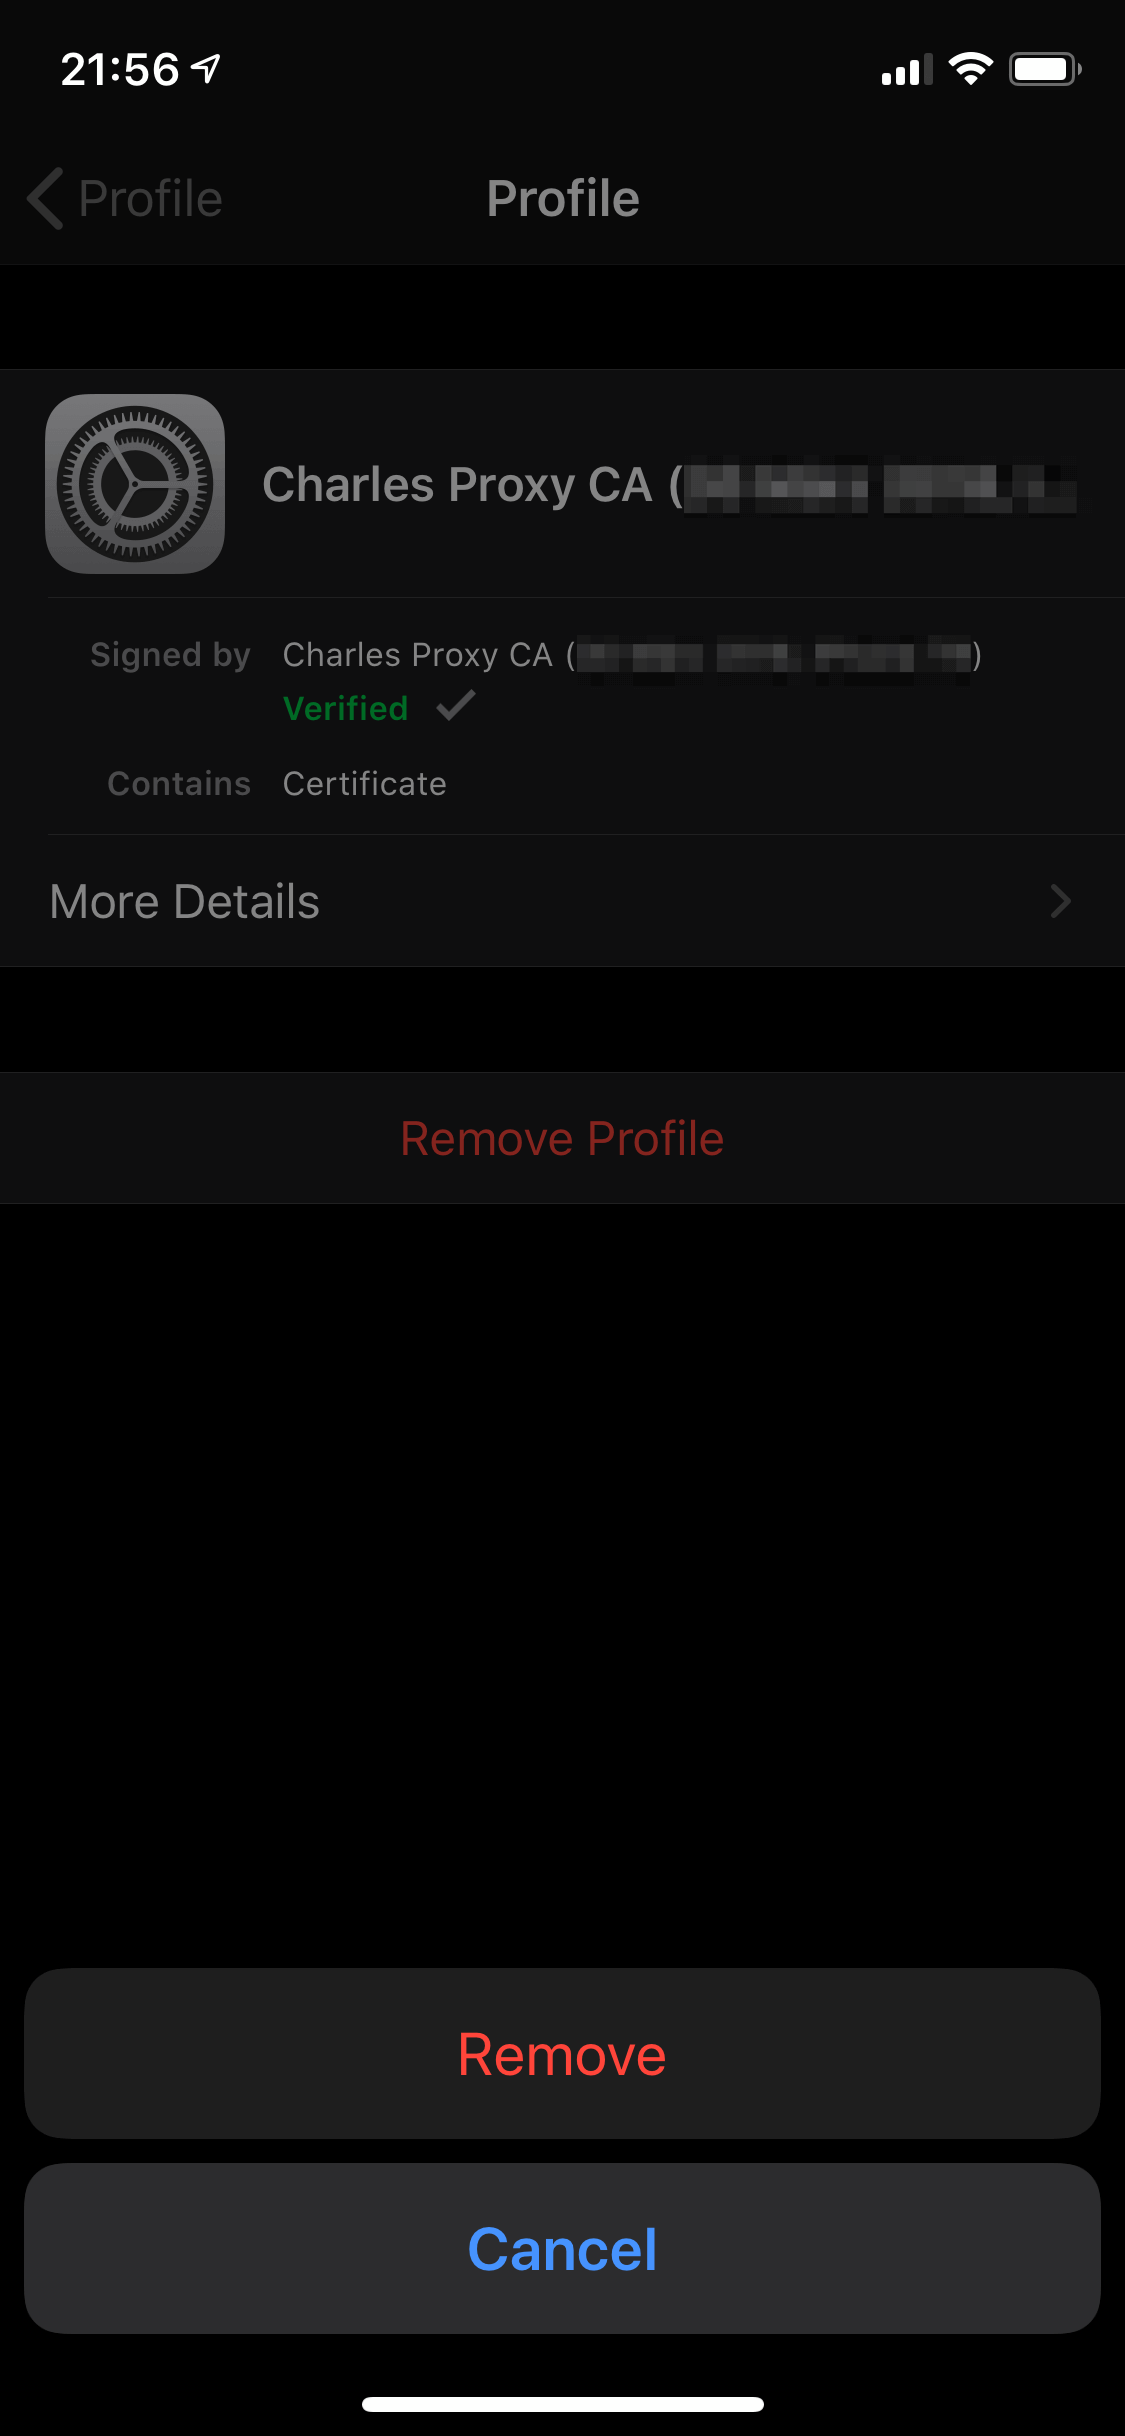
While it should be enough to disable Charles proxy, you may want to remove the Charles root certificate completely at some point. You can do this in your iOS settings under »General« → »Profile« by removing the CA certificate.
That’s all.
It won’t always be that easy
This simple example wasn’t a tough nut to crack. Other apps (especially those which process sensitive data like payments or any sort of business value) may take several security measures to secure their APIs from unauthorized interception/use. Here are some of them.
- SSL certificate pinning (which means Charles’s self-signed proxy certificate won’t be accepted)
- Fingerprinting attributes to check whether the API consumer is »phone-like«
- Encrypting such fingerprints
- Signing requests with timestamps
In this case, Charles won’t help you as SSL certificate pinning means that apps specifically validate the used certificates and won’t accept Charles’ certificate, eventually failing the connection.
If you have successfully installed the Charles root certificate and can browse SSL websites using SSL Proxying (e.g. in Safari) but apps fail, certificate pinning is probably the issue.